❯ ~/miniconda3/bin/conda init zsh no change /home/chani22/miniconda3/condabin/conda no change /home/chani22/miniconda3/bin/conda no change /home/chani22/miniconda3/bin/conda-env no change /home/chani22/miniconda3/bin/activate no change /home/chani22/miniconda3/bin/deactivate no change /home/chani22/miniconda3/etc/profile.d/conda.sh no change /home/chani22/miniconda3/etc/fish/conf.d/conda.fish no change /home/chani22/miniconda3/shell/condabin/Conda.psm1 no change /home/chani22/miniconda3/shell/condabin/conda-hook.ps1 no change /home/chani22/miniconda3/lib/python3.11/site-packages/xontrib/conda.xsh no change /home/chani22/miniconda3/etc/profile.d/conda.csh modified /home/chani22/.zshrc
==> For changes to take effect, close and re-open your current shell. <==
마지막의 init은 새로운 버전으로 업데이트하거나 했을 때 초기화 하는 것인데 그냥 첫 설치 때도 해봤다.
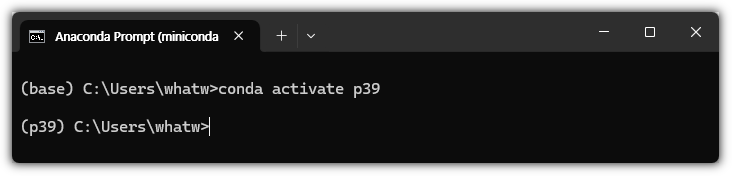
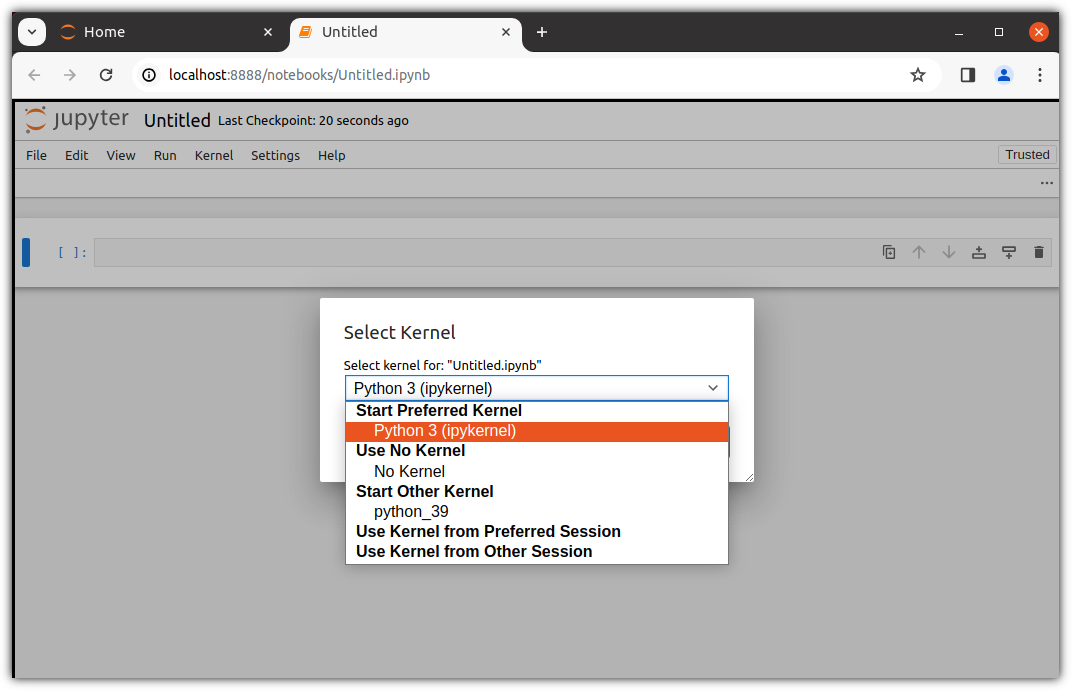
Preparing transaction: done Verifying transaction: done Executing transaction: done # # To activate this environment, use # # $ conda activate python_39 # # To deactivate an active environment, use # # $ conda deactivate
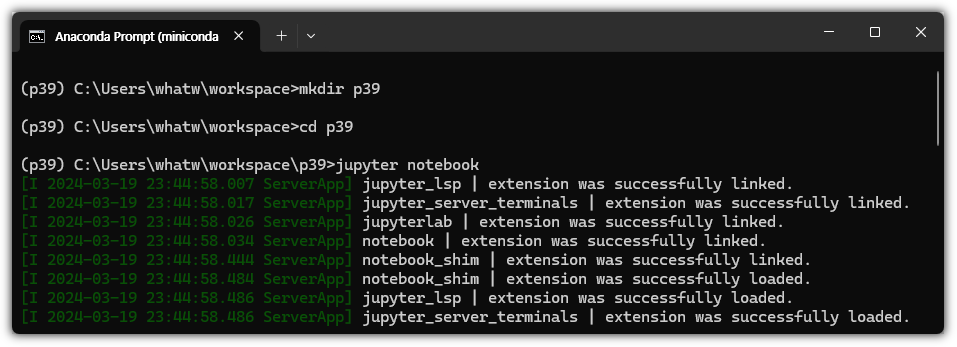
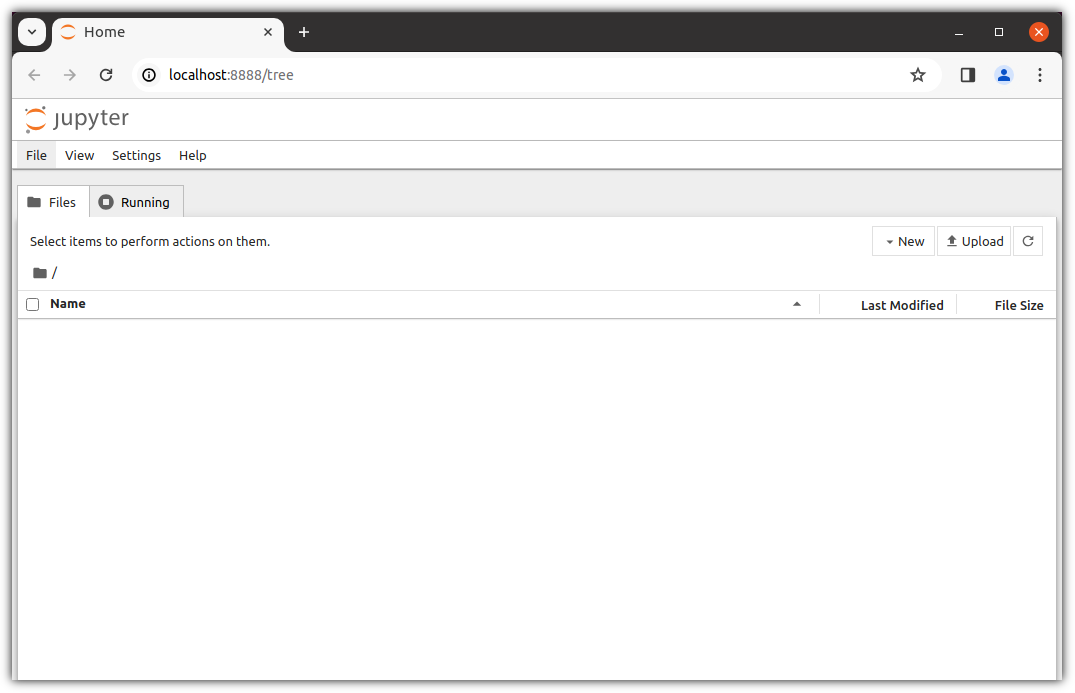
❯ jupyter notebook [W 2024-01-11 00:29:46.408 ServerApp] A `_jupyter_server_extension_points` function was not found in jupyter_lsp. Instead, a `_jupyter_server_extension_paths` function was found and will be used for now. This function name will be deprecated in future releases of Jupyter Server. [W 2024-01-11 00:29:46.429 ServerApp] A `_jupyter_server_extension_points` function was not found in notebook_shim. Instead, a `_jupyter_server_extension_paths` function was found and will be used for now. This function name will be deprecated in future releases of Jupyter Server. [I 2024-01-11 00:29:46.429 ServerApp] jupyter_lsp | extension was successfully linked. [I 2024-01-11 00:29:46.432 ServerApp] jupyter_server_terminals | extension was successfully linked. [I 2024-01-11 00:29:46.435 ServerApp] jupyterlab | extension was successfully linked. [I 2024-01-11 00:29:46.439 ServerApp] notebook | extension was successfully linked. [I 2024-01-11 00:29:46.440 ServerApp] Writing Jupyter server cookie secret to /home/chani22/.local/share/jupyter/runtime/jupyter_cookie_secret [I 2024-01-11 00:29:46.604 ServerApp] notebook_shim | extension was successfully linked. [I 2024-01-11 00:29:46.618 ServerApp] notebook_shim | extension was successfully loaded. [I 2024-01-11 00:29:46.619 ServerApp] jupyter_lsp | extension was successfully loaded. [I 2024-01-11 00:29:46.620 ServerApp] jupyter_server_terminals | extension was successfully loaded. [I 2024-01-11 00:29:46.621 LabApp] JupyterLab extension loaded from /home/chani22/miniconda3/envs/python_39/lib/python3.9/site-packages/jupyterlab [I 2024-01-11 00:29:46.621 LabApp] JupyterLab application directory is /home/chani22/miniconda3/envs/python_39/share/jupyter/lab [I 2024-01-11 00:29:46.622 LabApp] Extension Manager is 'pypi'. [I 2024-01-11 00:29:46.624 ServerApp] jupyterlab | extension was successfully loaded. [I 2024-01-11 00:29:46.625 ServerApp] notebook | extension was successfully loaded. [I 2024-01-11 00:29:46.626 ServerApp] Serving notebooks from local directory: /srv/workspace/python_39 [I 2024-01-11 00:29:46.626 ServerApp] Jupyter Server 2.12.3 is running at: [I 2024-01-11 00:29:46.626 ServerApp] http://localhost:8888/tree?token=5ed486a3d676270879b3684991a11b4932c981c265dddef4 [I 2024-01-11 00:29:46.626 ServerApp] http://127.0.0.1:8888/tree?token=5ed486a3d676270879b3684991a11b4932c981c265dddef4 [I 2024-01-11 00:29:46.626 ServerApp] Use Control-C to stop this server and shut down all kernels (twice to skip confirmation). [C 2024-01-11 00:29:47.025 ServerApp]
To access the server, open this file in a browser: file:///home/chani22/.local/share/jupyter/runtime/jpserver-4428-open.html Or copy and paste one of these URLs: http://localhost:8888/tree?token=5ed486a3d676270879b3684991a11b4932c981c265dddef4 http://127.0.0.1:8888/tree?token=5ed486a3d676270879b3684991a11b4932c981c265dddef4 [I 2024-01-11 00:29:47.041 ServerApp] Skipped non-installed server(s): bash-language-server, dockerfile-language-server-nodejs, javascript-typescript-langserver, jedi-language-server, julia-language-server, pyright, python-language-server, python-lsp-server, r-languageserver, sql-language-server, texlab, typescript-language-server, unified-language-server, vscode-css-languageserver-bin, vscode-html-languageserver-bin, vscode-json-languageserver-bin, yaml-language-server
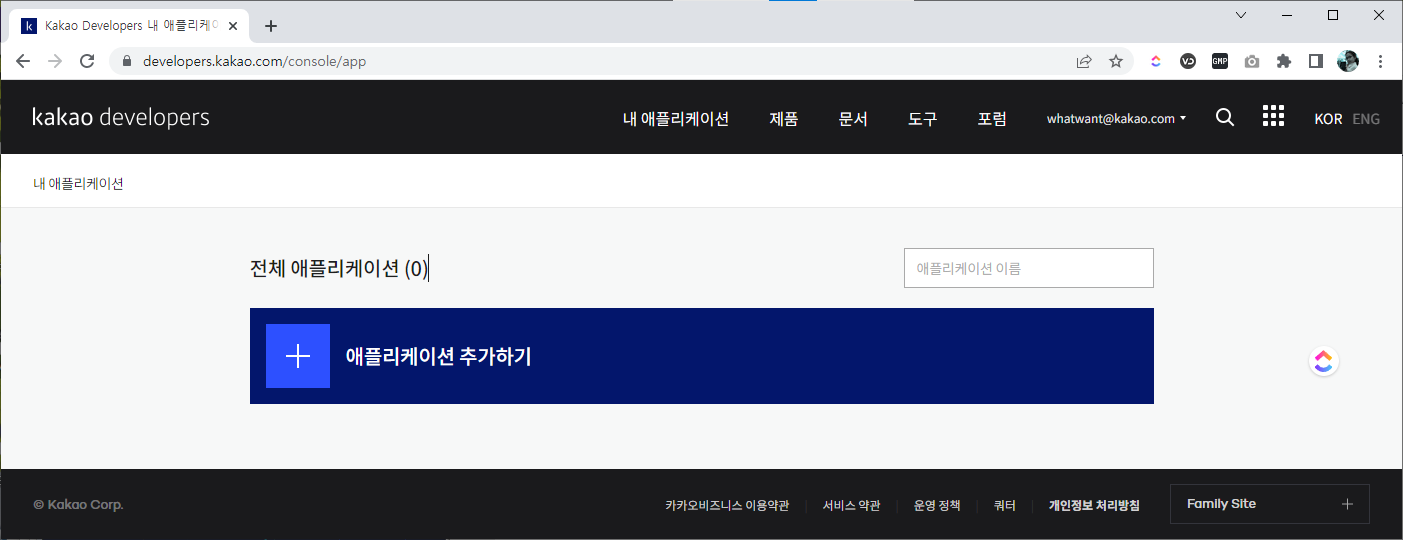
- '앱 이름'과 '사업자명'을 임의로 적어주면 되고, 앱 아이콘은 등록하지 않아도 된다.
애플리케이션 추가
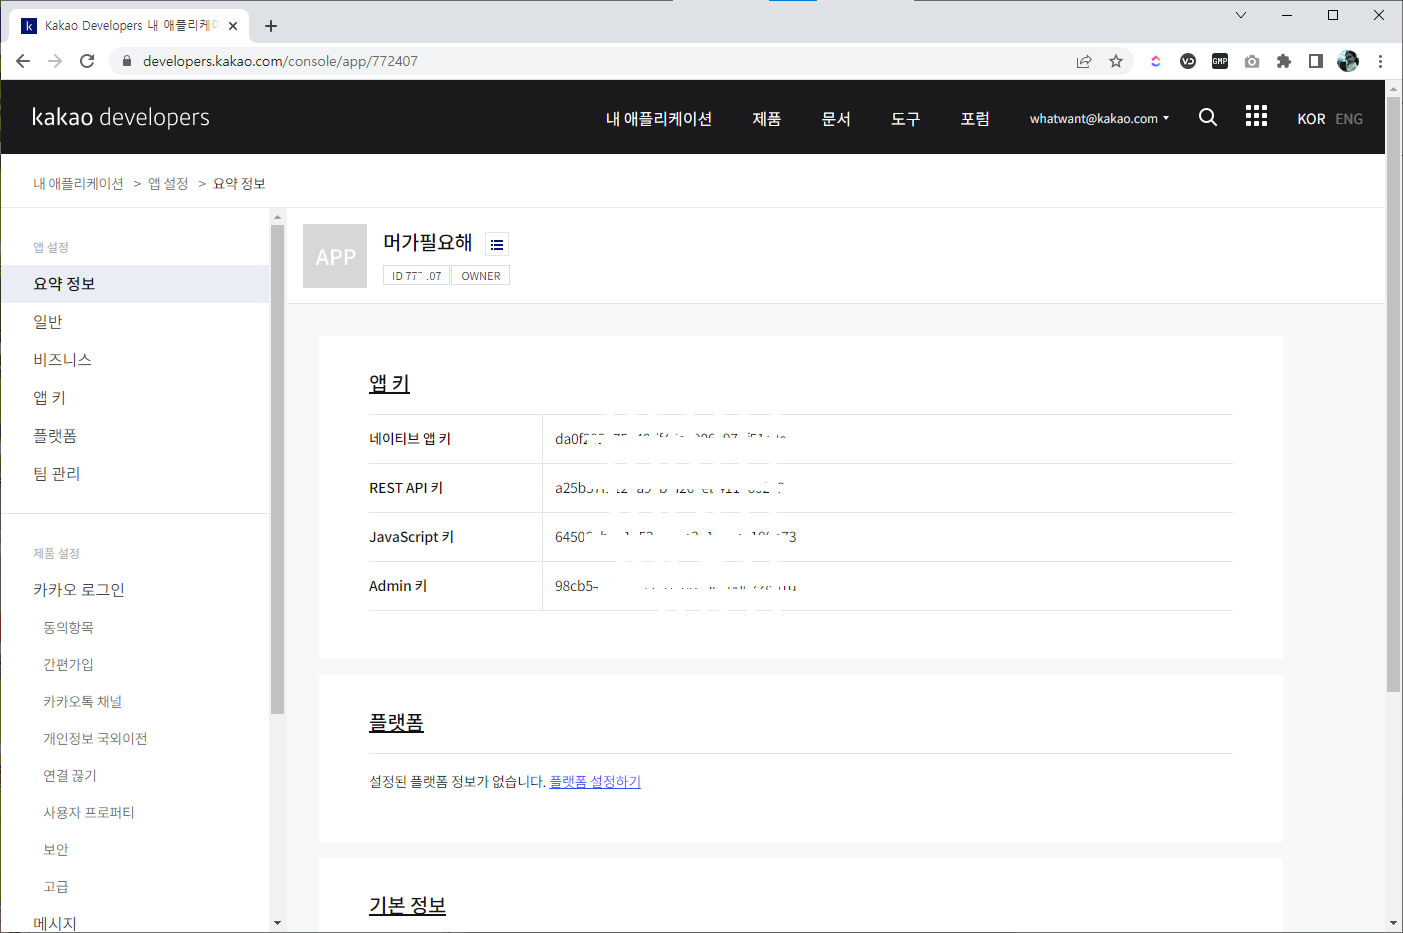
03. 애플리케이션 요약 정보
- 생성한 애플리케이션을 선택하면 다양한 설정을 할 수 있는 화면을 볼 수 있다.
- 첫 화면으로 나오는 요약 정보에서는 중요한 "앱 키"들도 볼 수 있다.
요약 정보
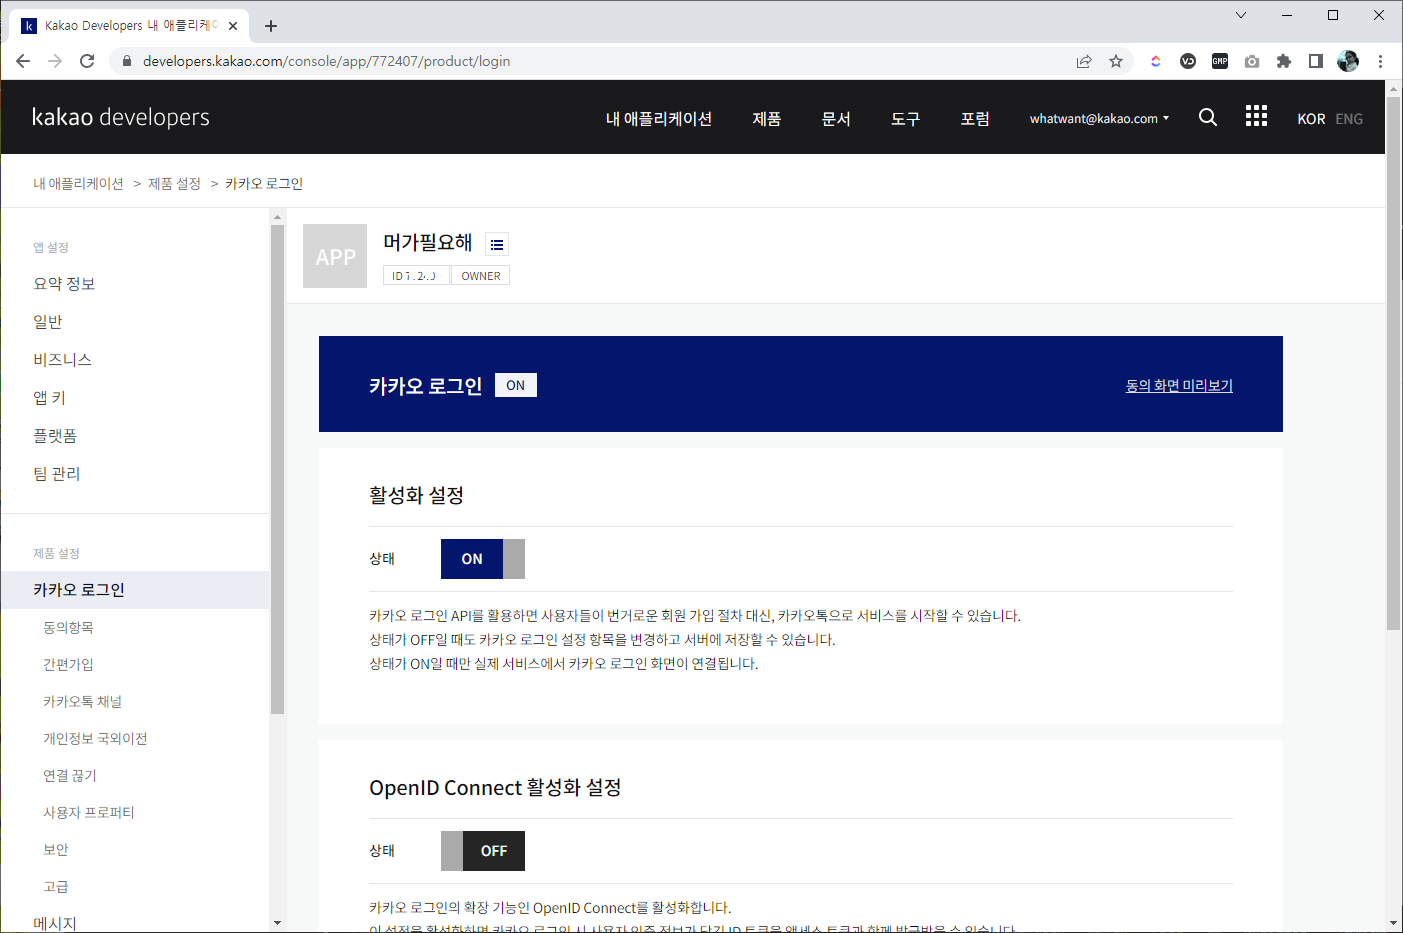
04. 카카오 로그인 활성화
- 카카오 로그인 API를 사용하기 위해서 활성화 설정을 진행해야 한다.
로그인 활성화
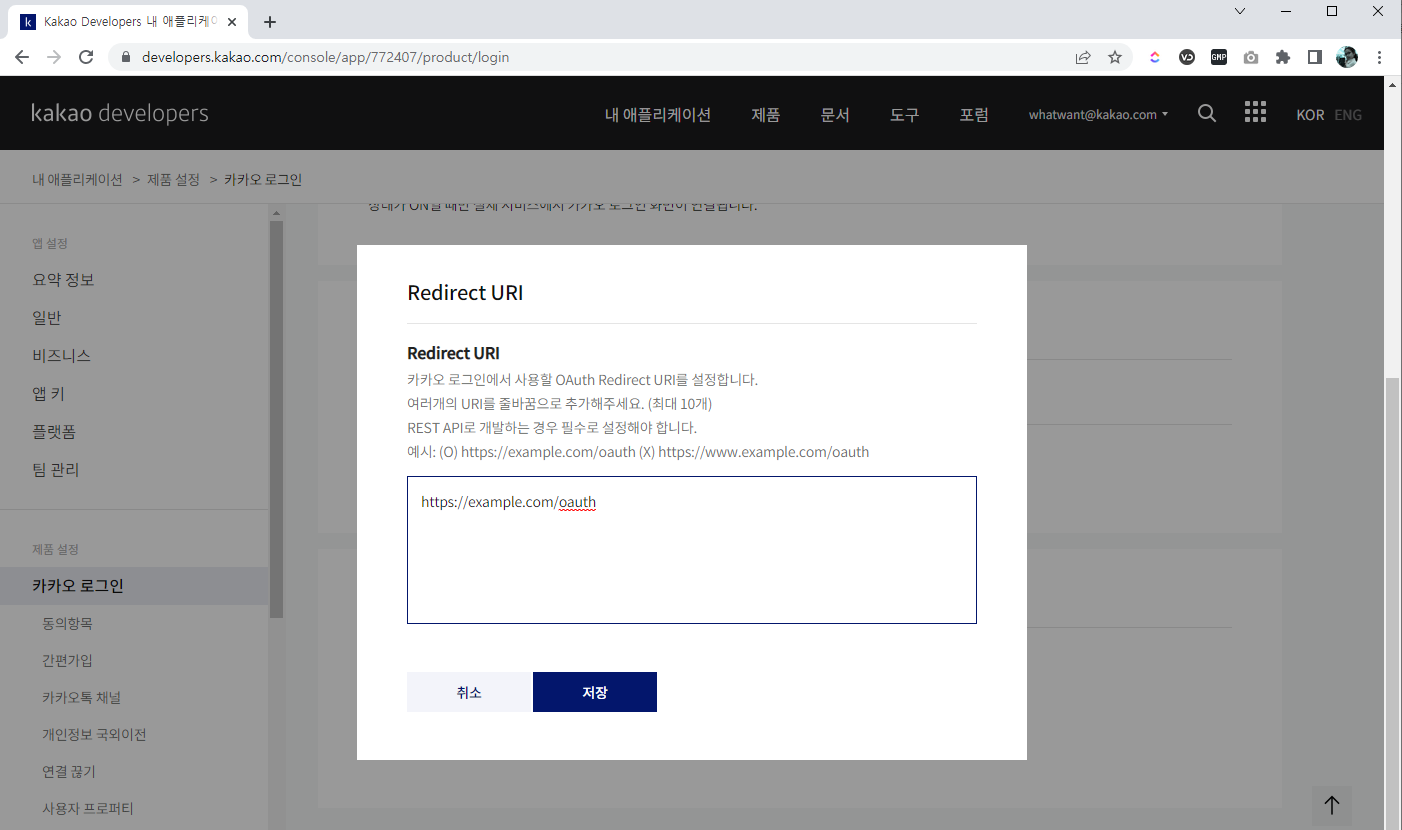
05. Redirect URI
- 로그인이 된 다음에 되돌아갈 URI를 등록하는 것이다.
- 지금 마땅히 없으니, 그냥 샘플로 제공되는 주소를 그대로 써주자. (https://naver.com 같이 입력해도 무방하다)
Redirect URI
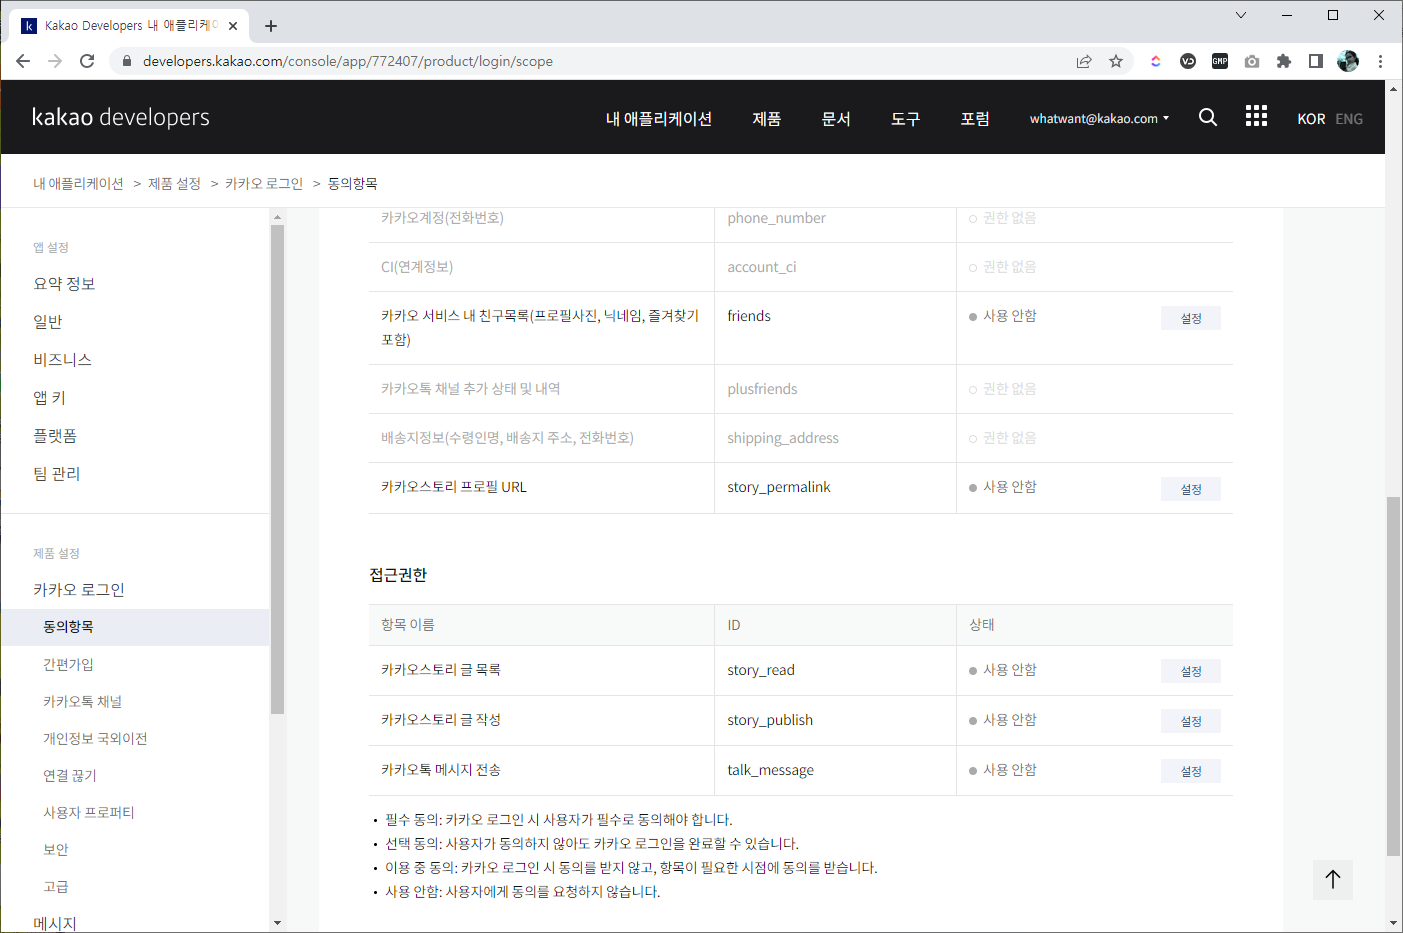
06. 접근 권한
- 사용자 동의가 필요한 접근 항목들이 있다.
- 제품 설정 → 카카오 로그인 → 동의항목 → 접근 권한 → 카카오톡 메시지 전송 → 설정
접근 권한
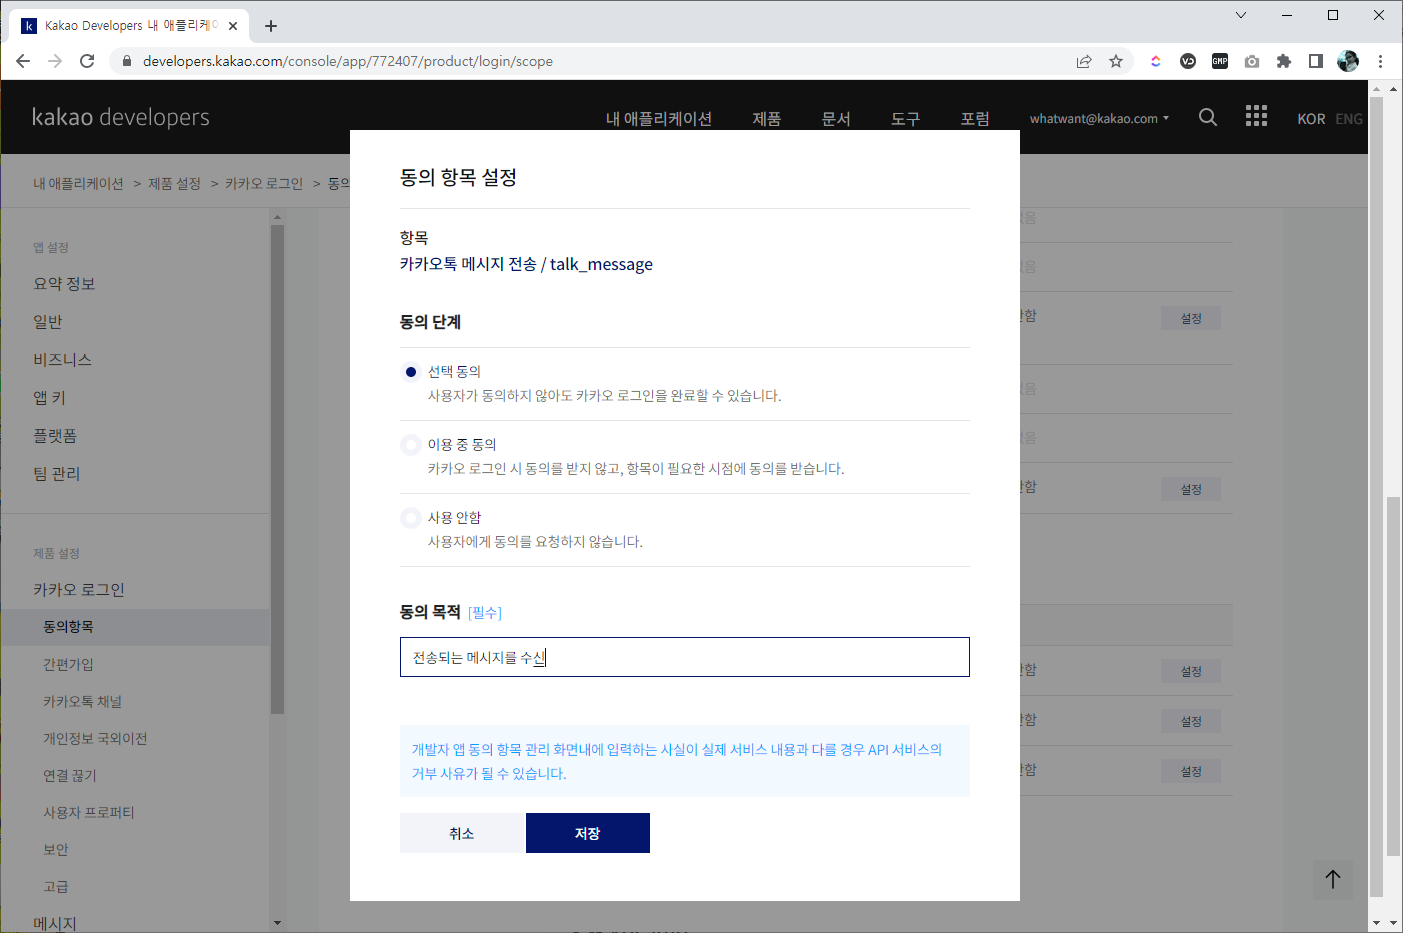
- 아래 화면과 같이 "선택 동의"를 선택하고 "동의 목적"에 문구를 작성해주면 된다.
카카오톡 메시지 전송 설정
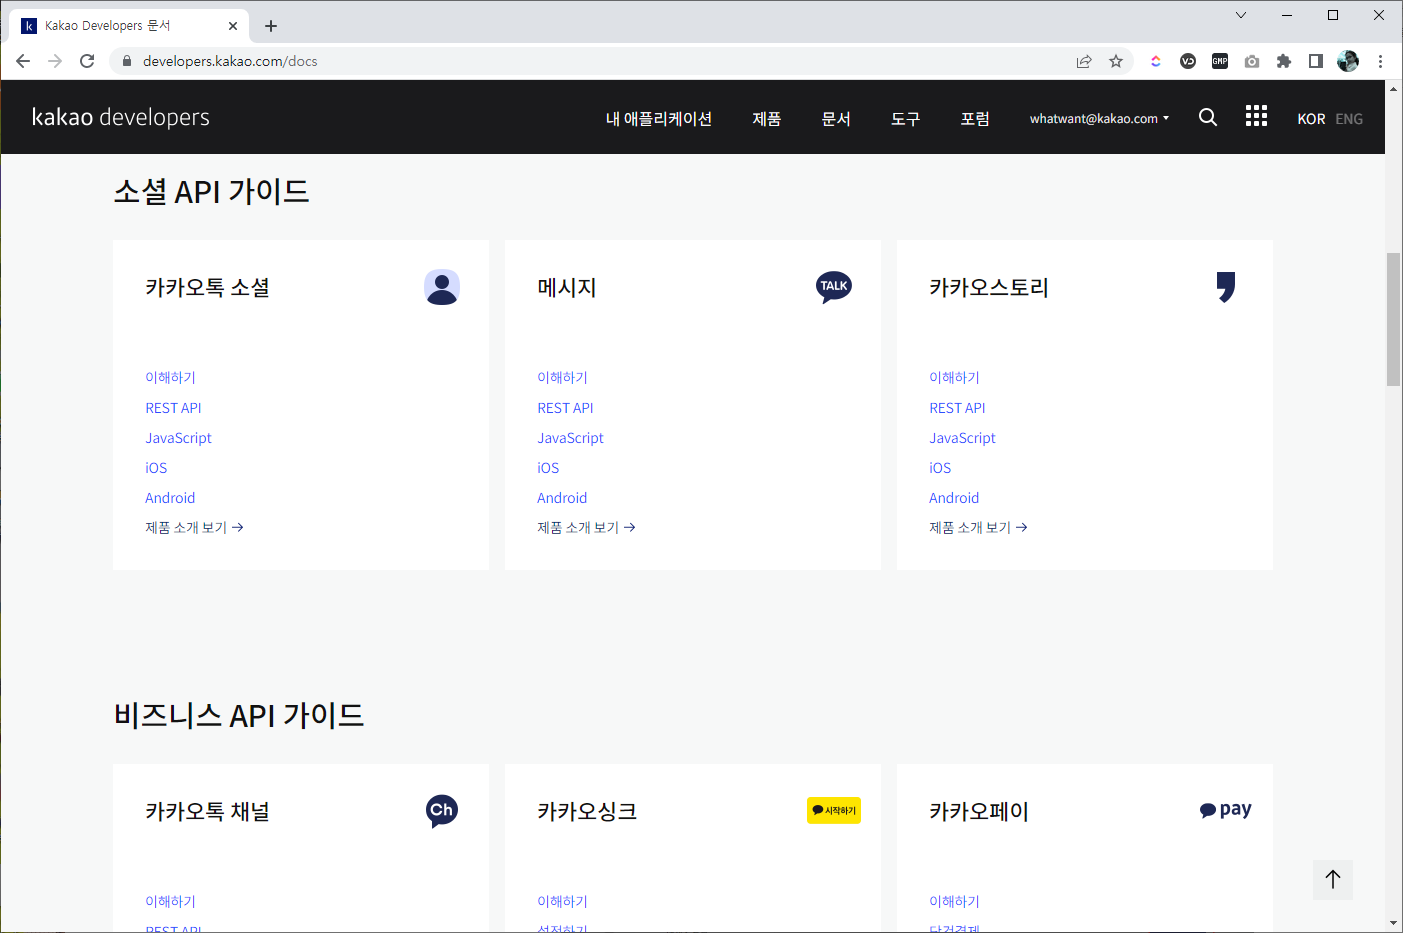
07. 소셜 API 가이드
- 사이트 상단 메뉴에서 "문서" 선택 후, 소셜API가이드 - 메시지 - REST API
소셜 API 가이드
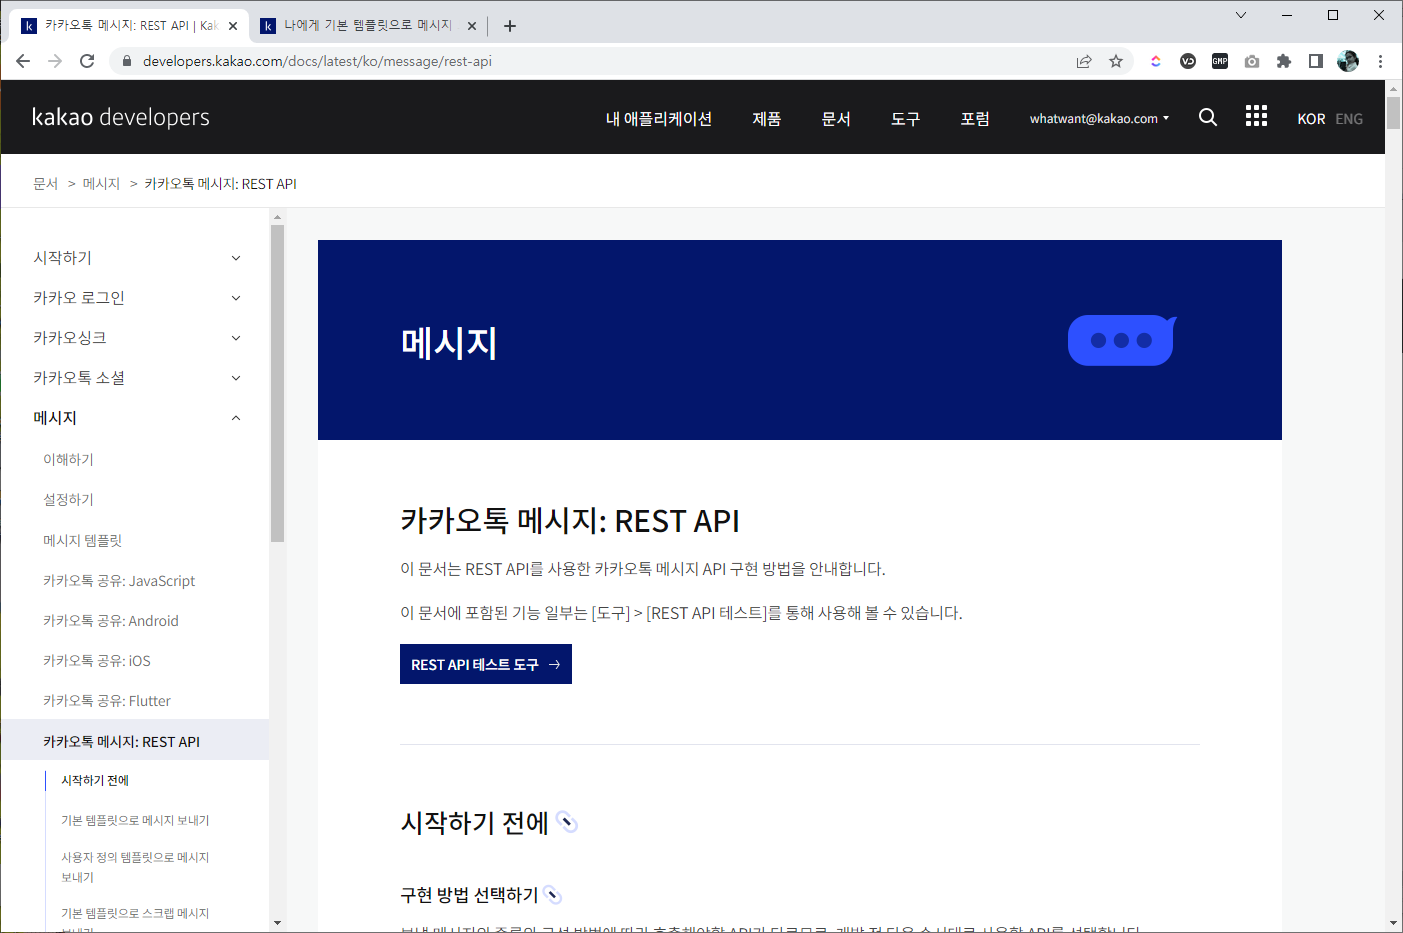
08. REST API 테스트 도구
- "카카오톡 메시지:REST API" 페이지를 보면 바로 보이는 "REST API 테스트 도구"를 클릭하자.
카카오톡 메시지: REST API
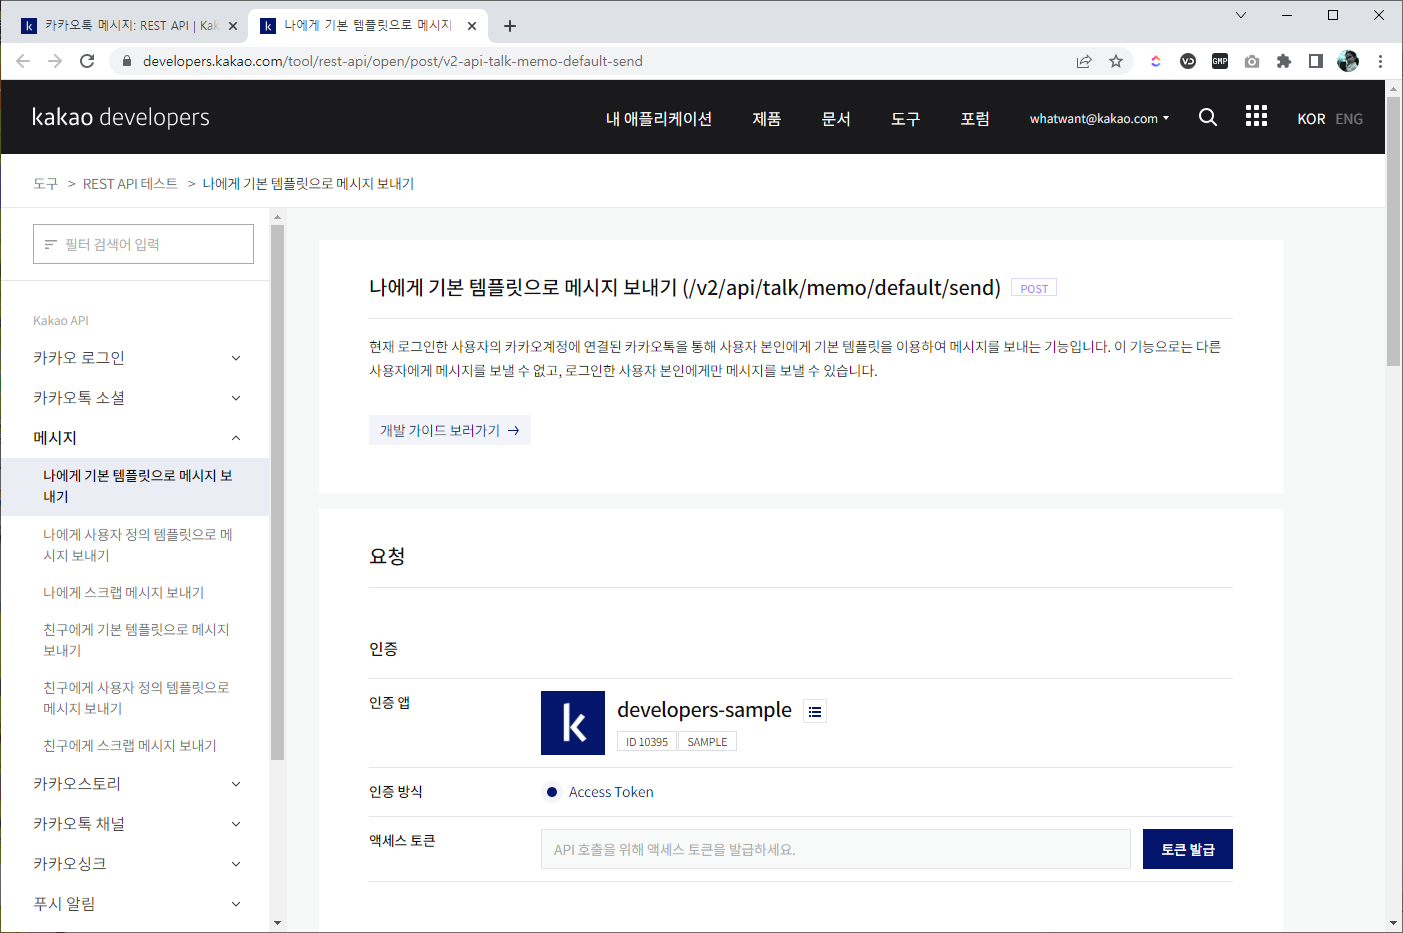
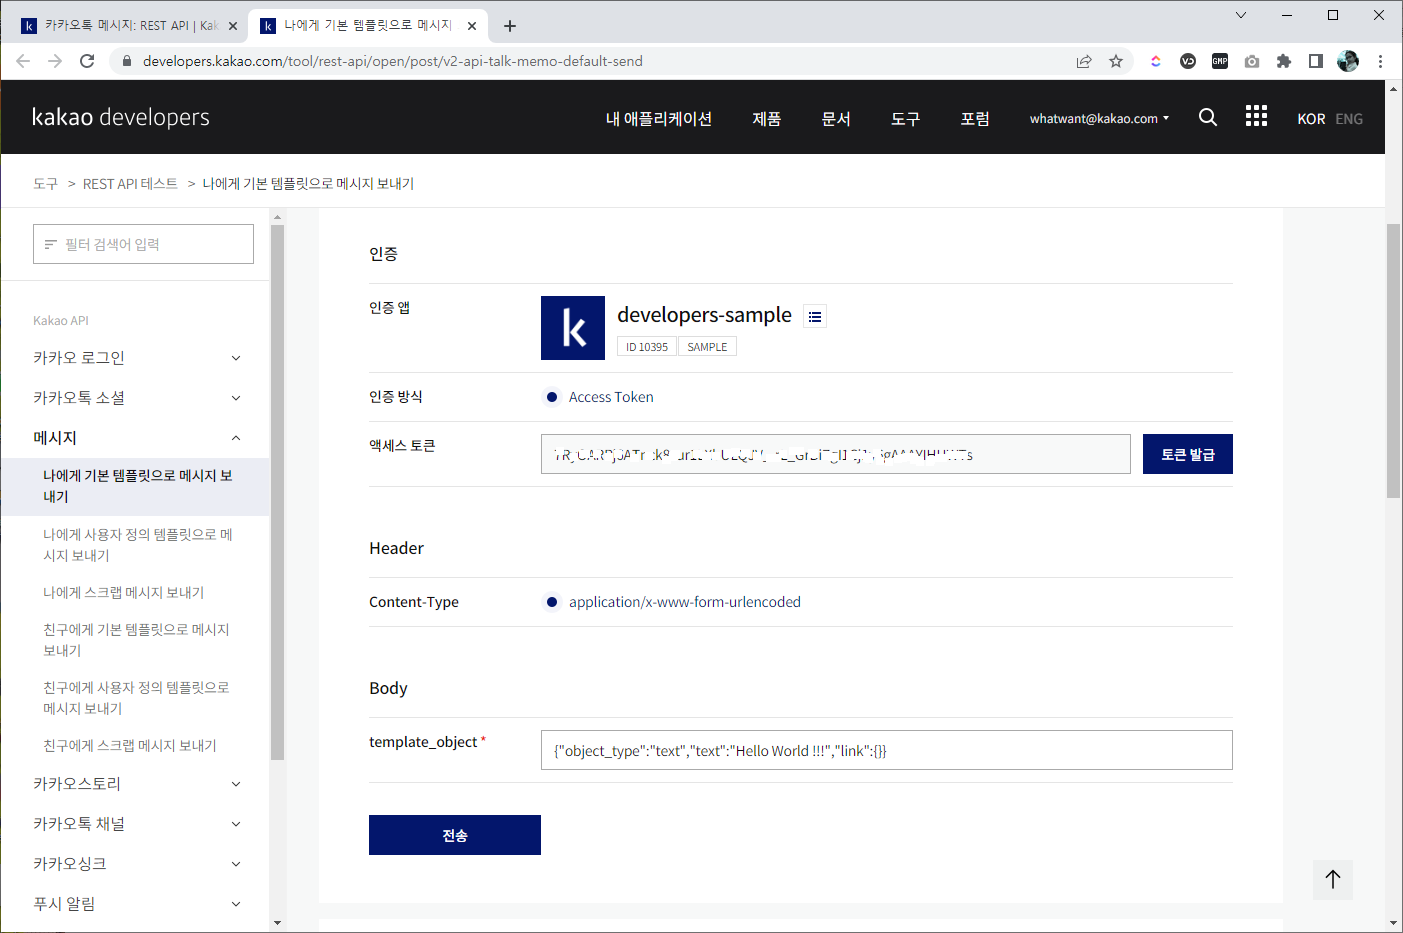
09. 나에게 기본 템플릿으로 메시지 보내기
- "REST API 테스트 도구"를 클릭하면 볼 수 있는 화면이다.
나에게 기본 템플릿으로 메시지 보내기
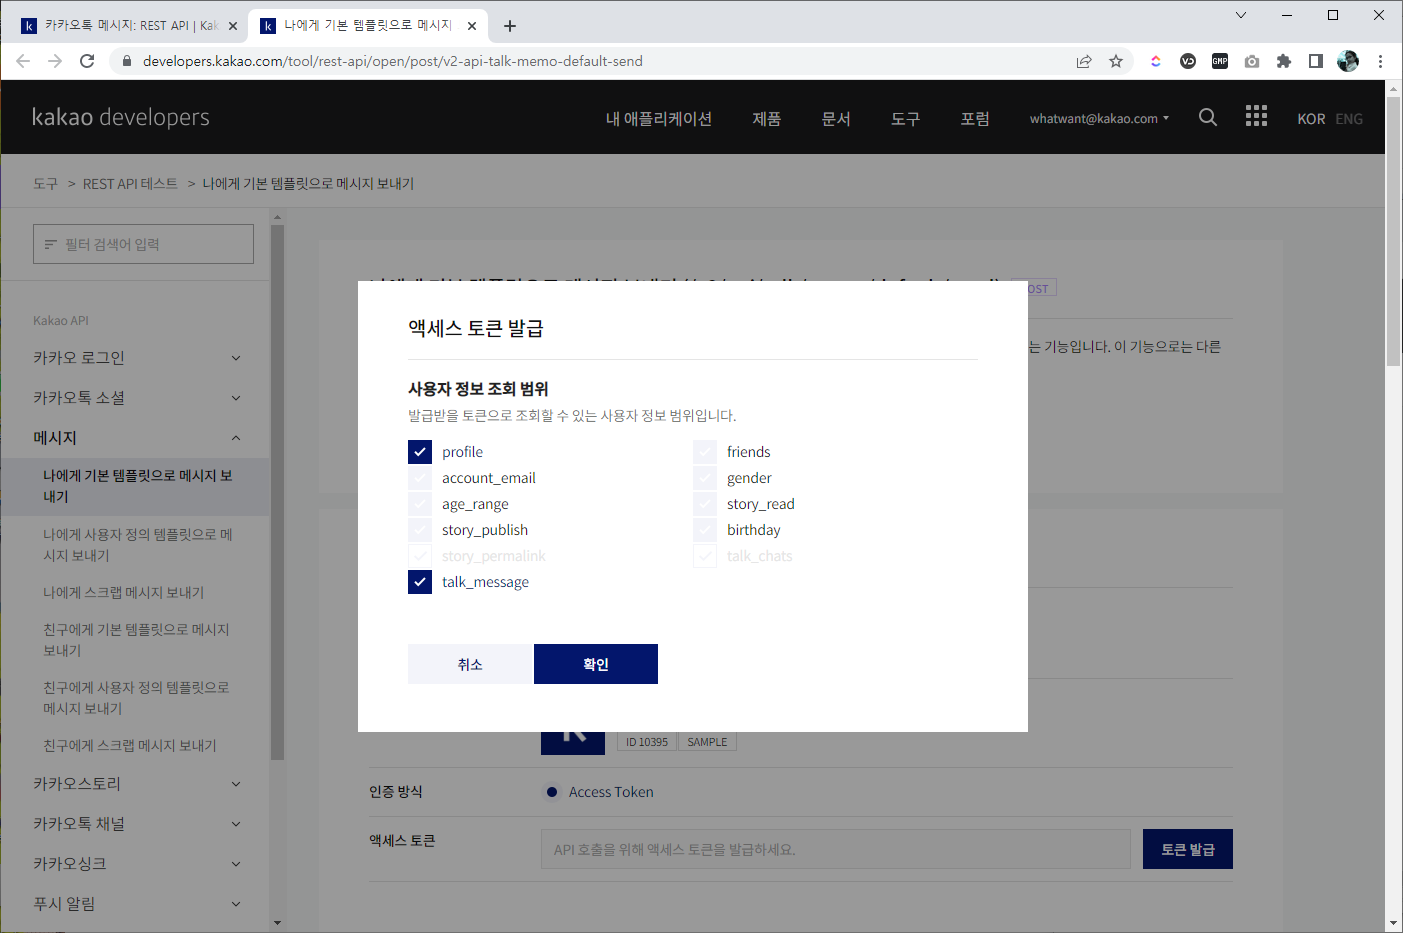
10. 액세스 토큰
- "액세스 토큰" 항목에서 "토큰 발급" 눌러 주자.
- 아래 화면에서 보이는 것과 같이 진행하면 된다.
토큰 발급
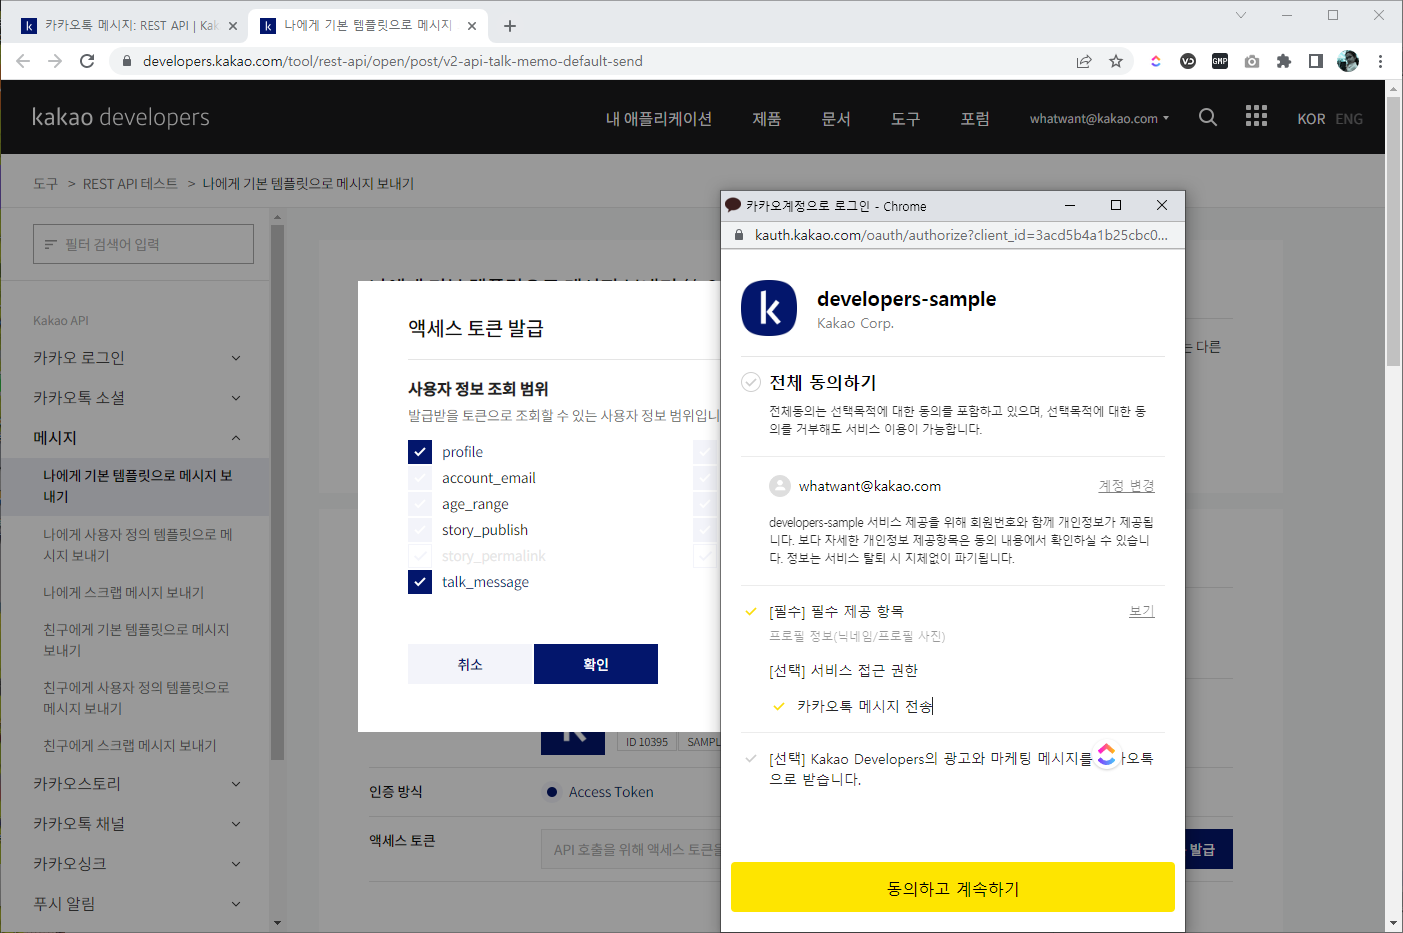
- 확인을 누르면 동의화면이 나온다. 동의 해주면 된다.
동의하기
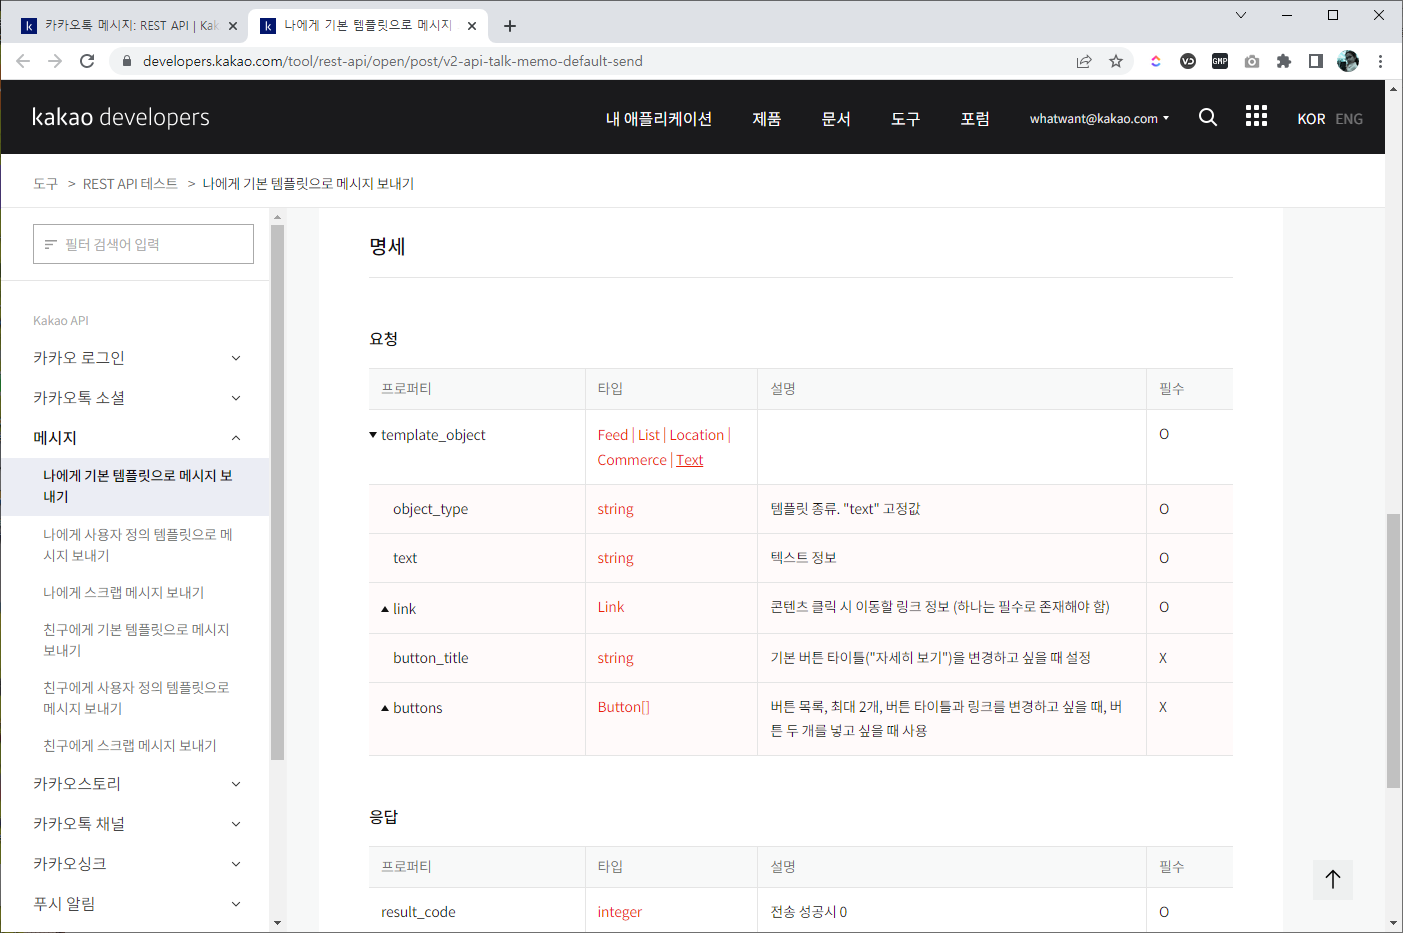
11. 명세 확인하기
- 페이지의 하단 부분을 보면 "명세" 부분을 볼 수 있다.
- "template_object"의 타입 부분에서 "Text"를 클릭해 주자.
명세
- 메시지의 종류라고 생각하면 되고, 지금은 "Text" 형식으로 메시지를 보내고자 하기에 이렇게 한 것이다. - 아래와 같은 형식으로 사용할 수 있다는 것을 확인할 수 있다. . {"object_type":"text","text":"Hello World !!!","link":{}}
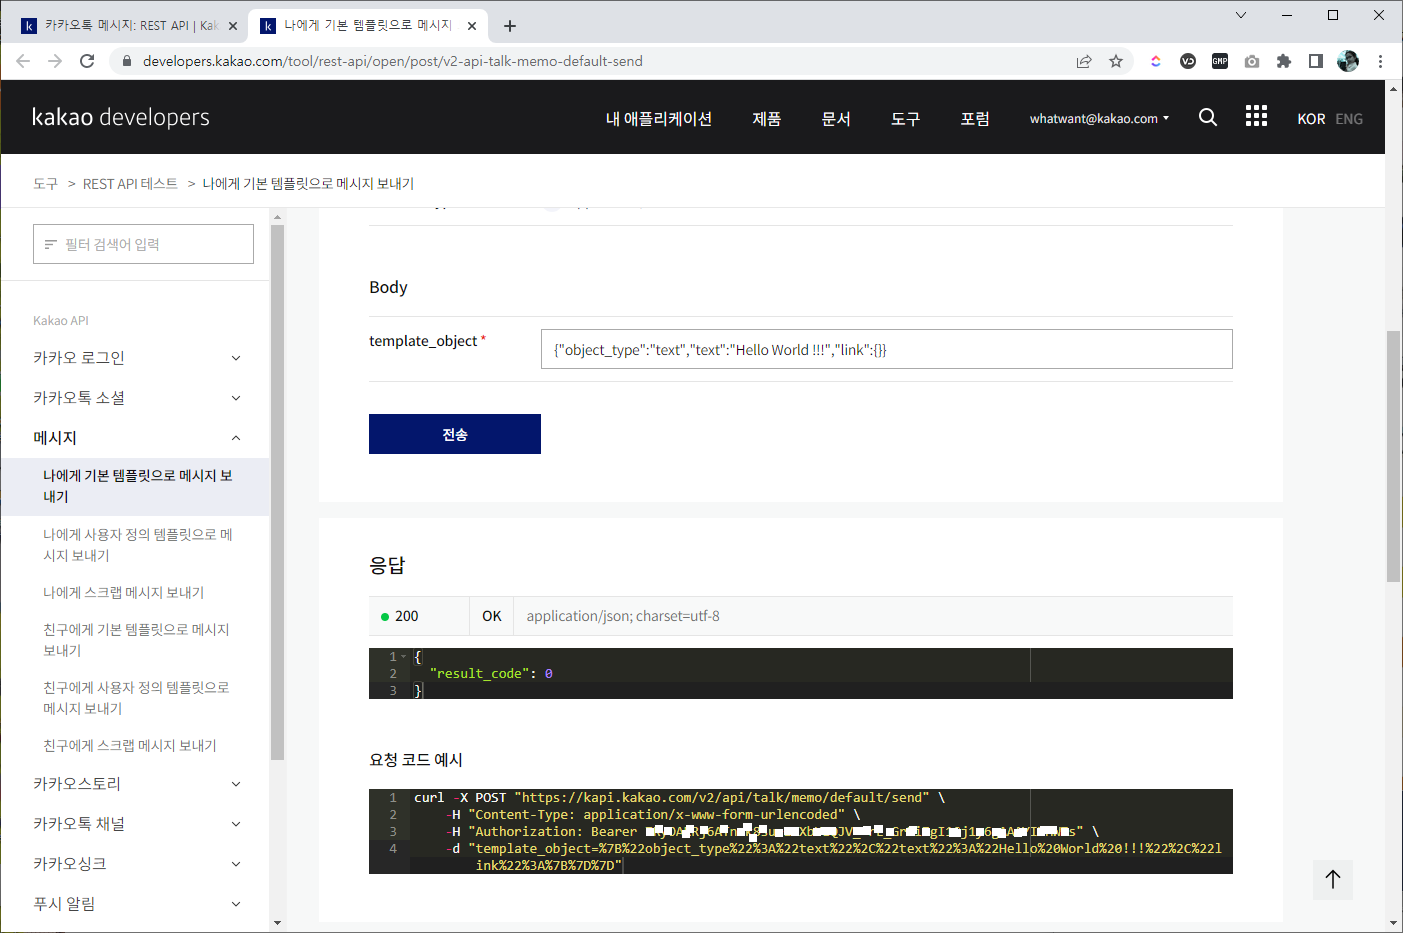
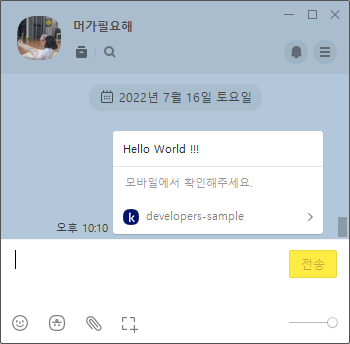
12. 전송
- 페이지의 위로 올라가서 Body 부분의 "template_object" 항목에 입력해주면 된다.