"한빛미디어 서평단 <나는리뷰어다> 활동을 위해서 책을 협찬 받아 작성된 서평입니다."
전 세계가 빠져있는 AI 열풍에서도 가장 큰 비중을 차지하고 있는 것이 바로 Software Development 분야이고,
그러한 AI 코딩 분야에서도 최근 가장 핫한 키워드가 바로 "바이브 코딩(Vibe Coding)"이다.
그리고, 이러한 열풍에 발맞춰서 뉴스에서 계속 언급되고 있는 것이
"소프트웨어 개발자의 해고", "취업난" 이다.
AI의 엄청난 발전에 따라 개발자들도 변화를 해야 한다.
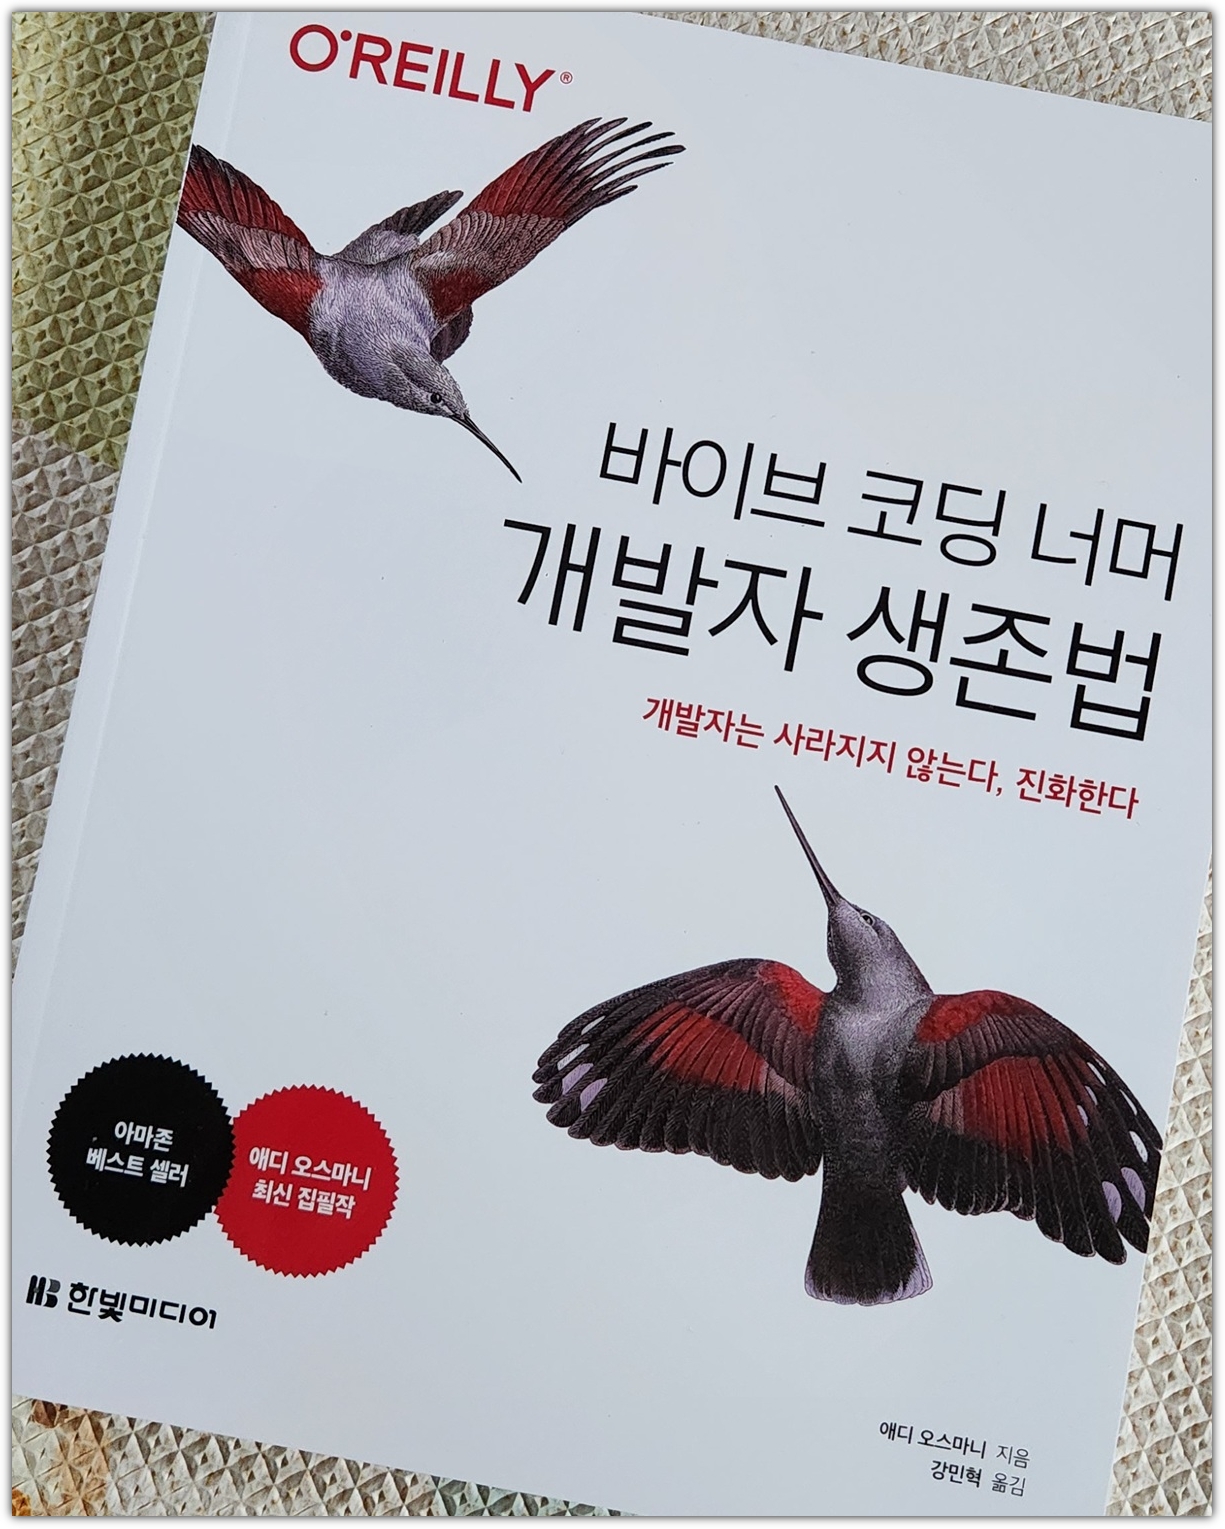
바로 그 이야기를 이 책 "바이브 코딩 너머 개발자 생존법"에서 말하고 있다.
그렇다.
지금 개발자는 "생존법"에 대해서 고민을 해야하는 시기인 것이다.
살아 남아야 한다.

출간한지 얼마 안된 따끈따끈한 책이다.

지은이 "에디 오스마니(Addy Osmani)"는 구글에서 크롬 웹브라우저, 제미나이 개발을 하고 있는
25년차 이상의 시니어 개발자이자 리더로써 많은 책을 낸 나름 유명한 분이다.
최근 "무엇이 1등 팀을 만드는가?"라는 책도 한빛미디어에서 번역되어 출간했었는데.
그 때 "기민함(Agility)"을 상당히 강조를 했었었다.
에디 오스마니가 말하는 기민함이란
단순히 빠른 것만 말하는 것이 아니라, 변화하는 환경에서 효과적으로 적응하고 대응하는 사고방식을 말했었다.
그 연장선에서 바로 이 책에서 말하고자 하는 내용이 있는 것이 아닐까 생각해본다.
이 책은 크게 3개의 파트로 구성이 되어 있다.
PART 1 에서는 일단 바이브 코딩에 대해서 알아본다.
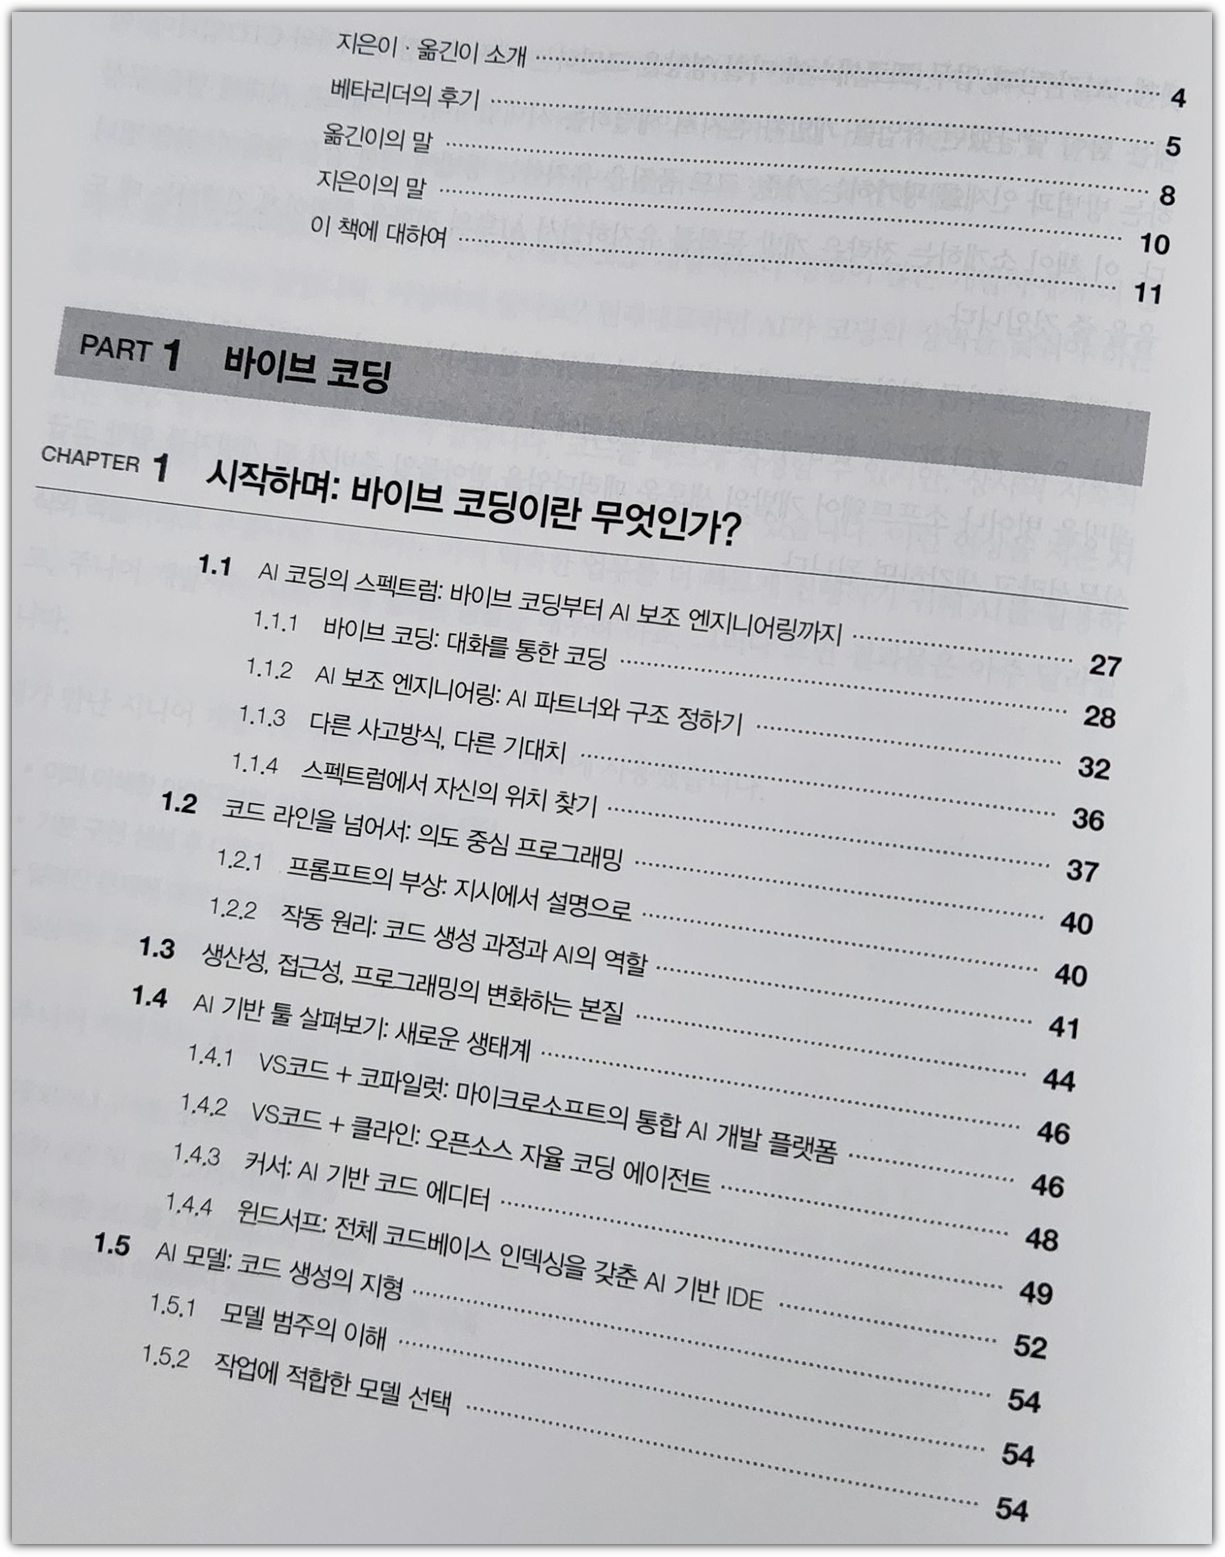
PART 2 에서는 실무에서 AI를 어떻게 사용해야 하는지에 대해서 말하고 있다.

PART 3 에서는 AI이기 때문에 발생하는 보안을 포함한 신뢰와 자율성에 대해서 이야기 하고 있다.

바이브 코딩에 대해서 이야기 하는 책이고,
챕터들을 봐도 상당히 기술적인 이야기를 하고 있는 것으로 보이지만,
사실 공부하듯이 봐야 하는 기술 서적으로 분류해야 하기 보다는
그냥 주우욱~ 읽어가는 일종의 개발 인문 서적으로 보는 것이 맞지 않을까 한다.

AI 시대에서 개발자로 어떻게 살아가야할지 조금이라도 고민을 하는 분들이라면
한 번 쯤 읽어보면 좋을 IT 교양 서적으로 추천하고 싶다.
'Books' 카테고리의 다른 글
| [한빛] "누구나 아는 나만 모르는 제미나이", 이제는 나도 아는 제미나이? (0) | 2026.02.23 |
|---|---|
| [한빛미디어] 일 잘하는 사람은 이렇게 챗GPT를 씁니다 (0) | 2025.12.28 |
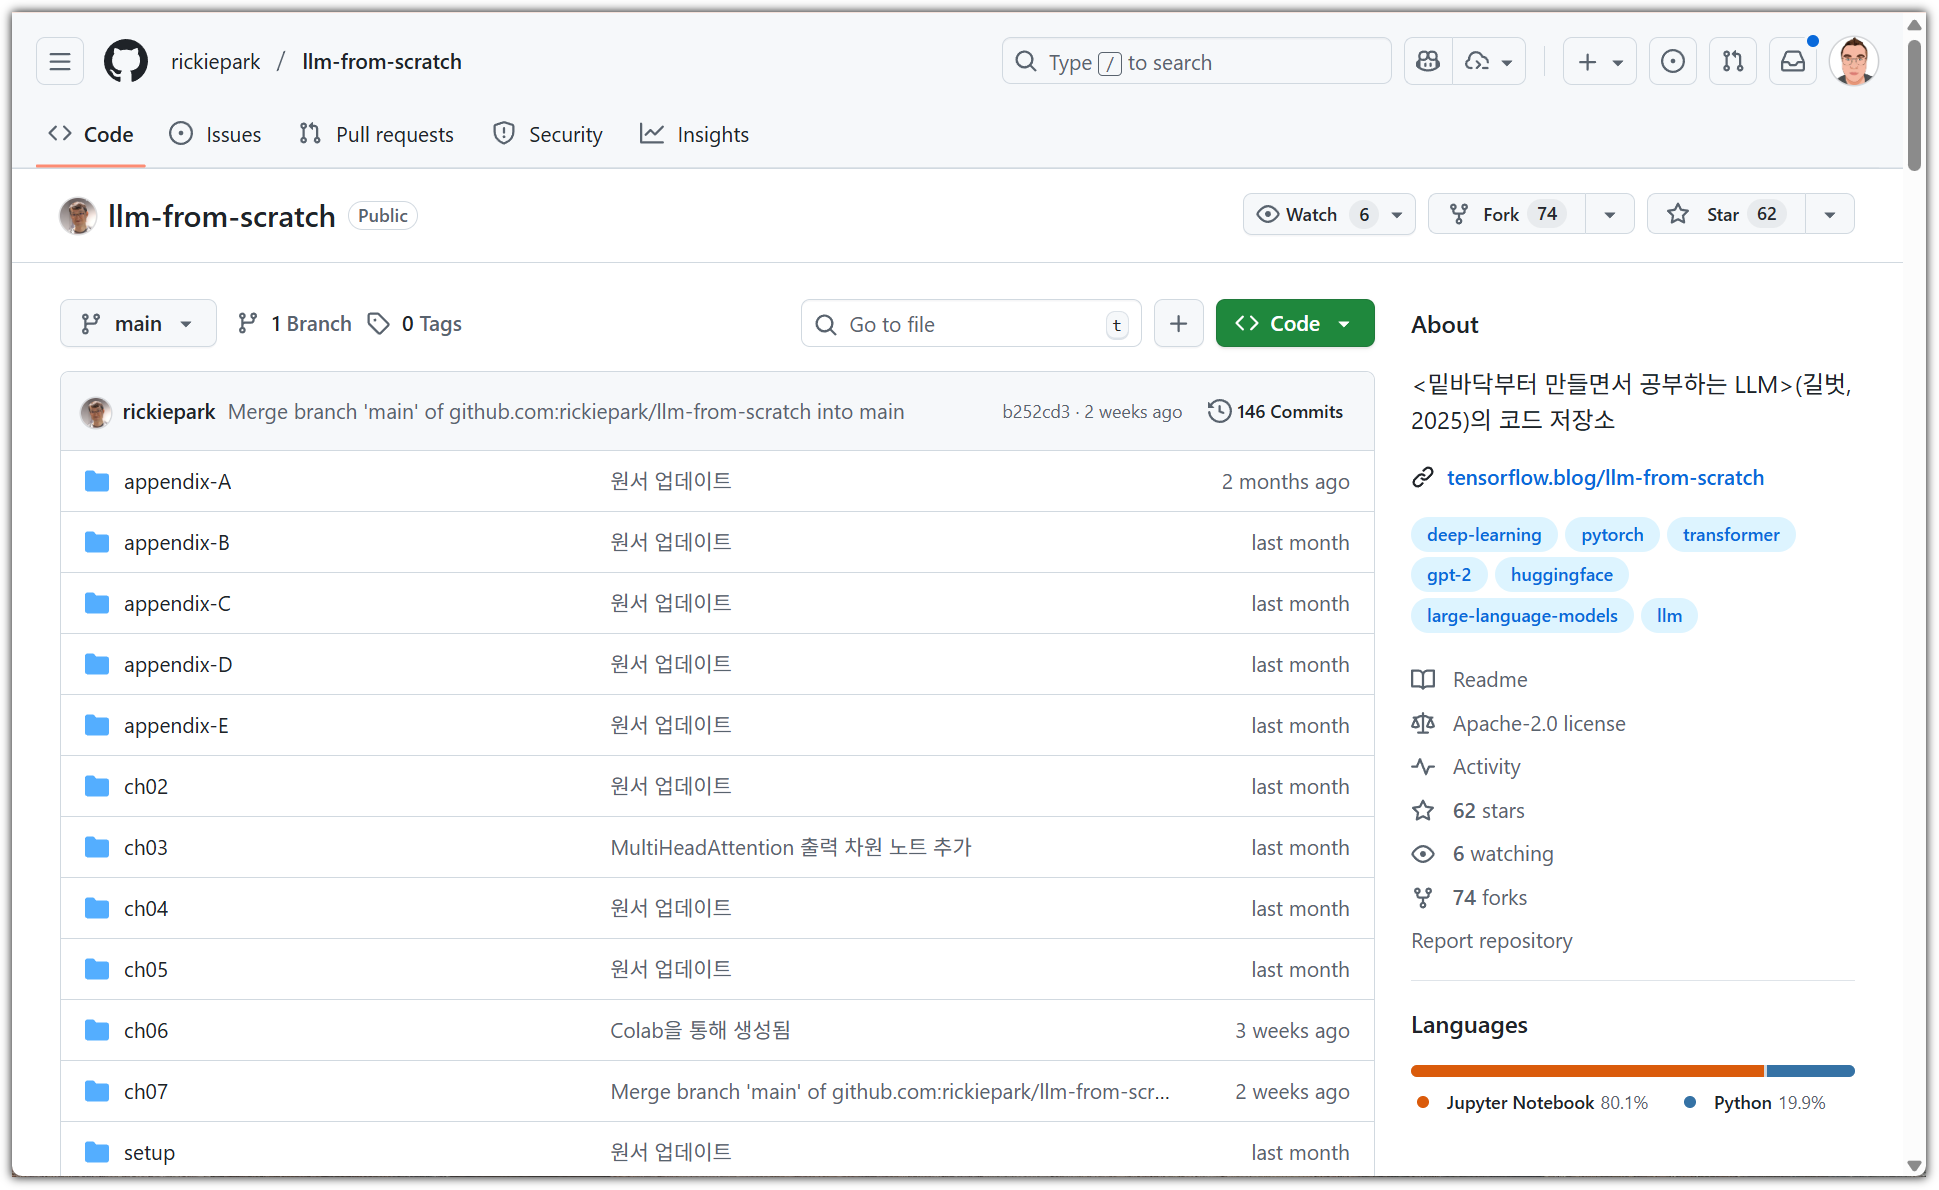
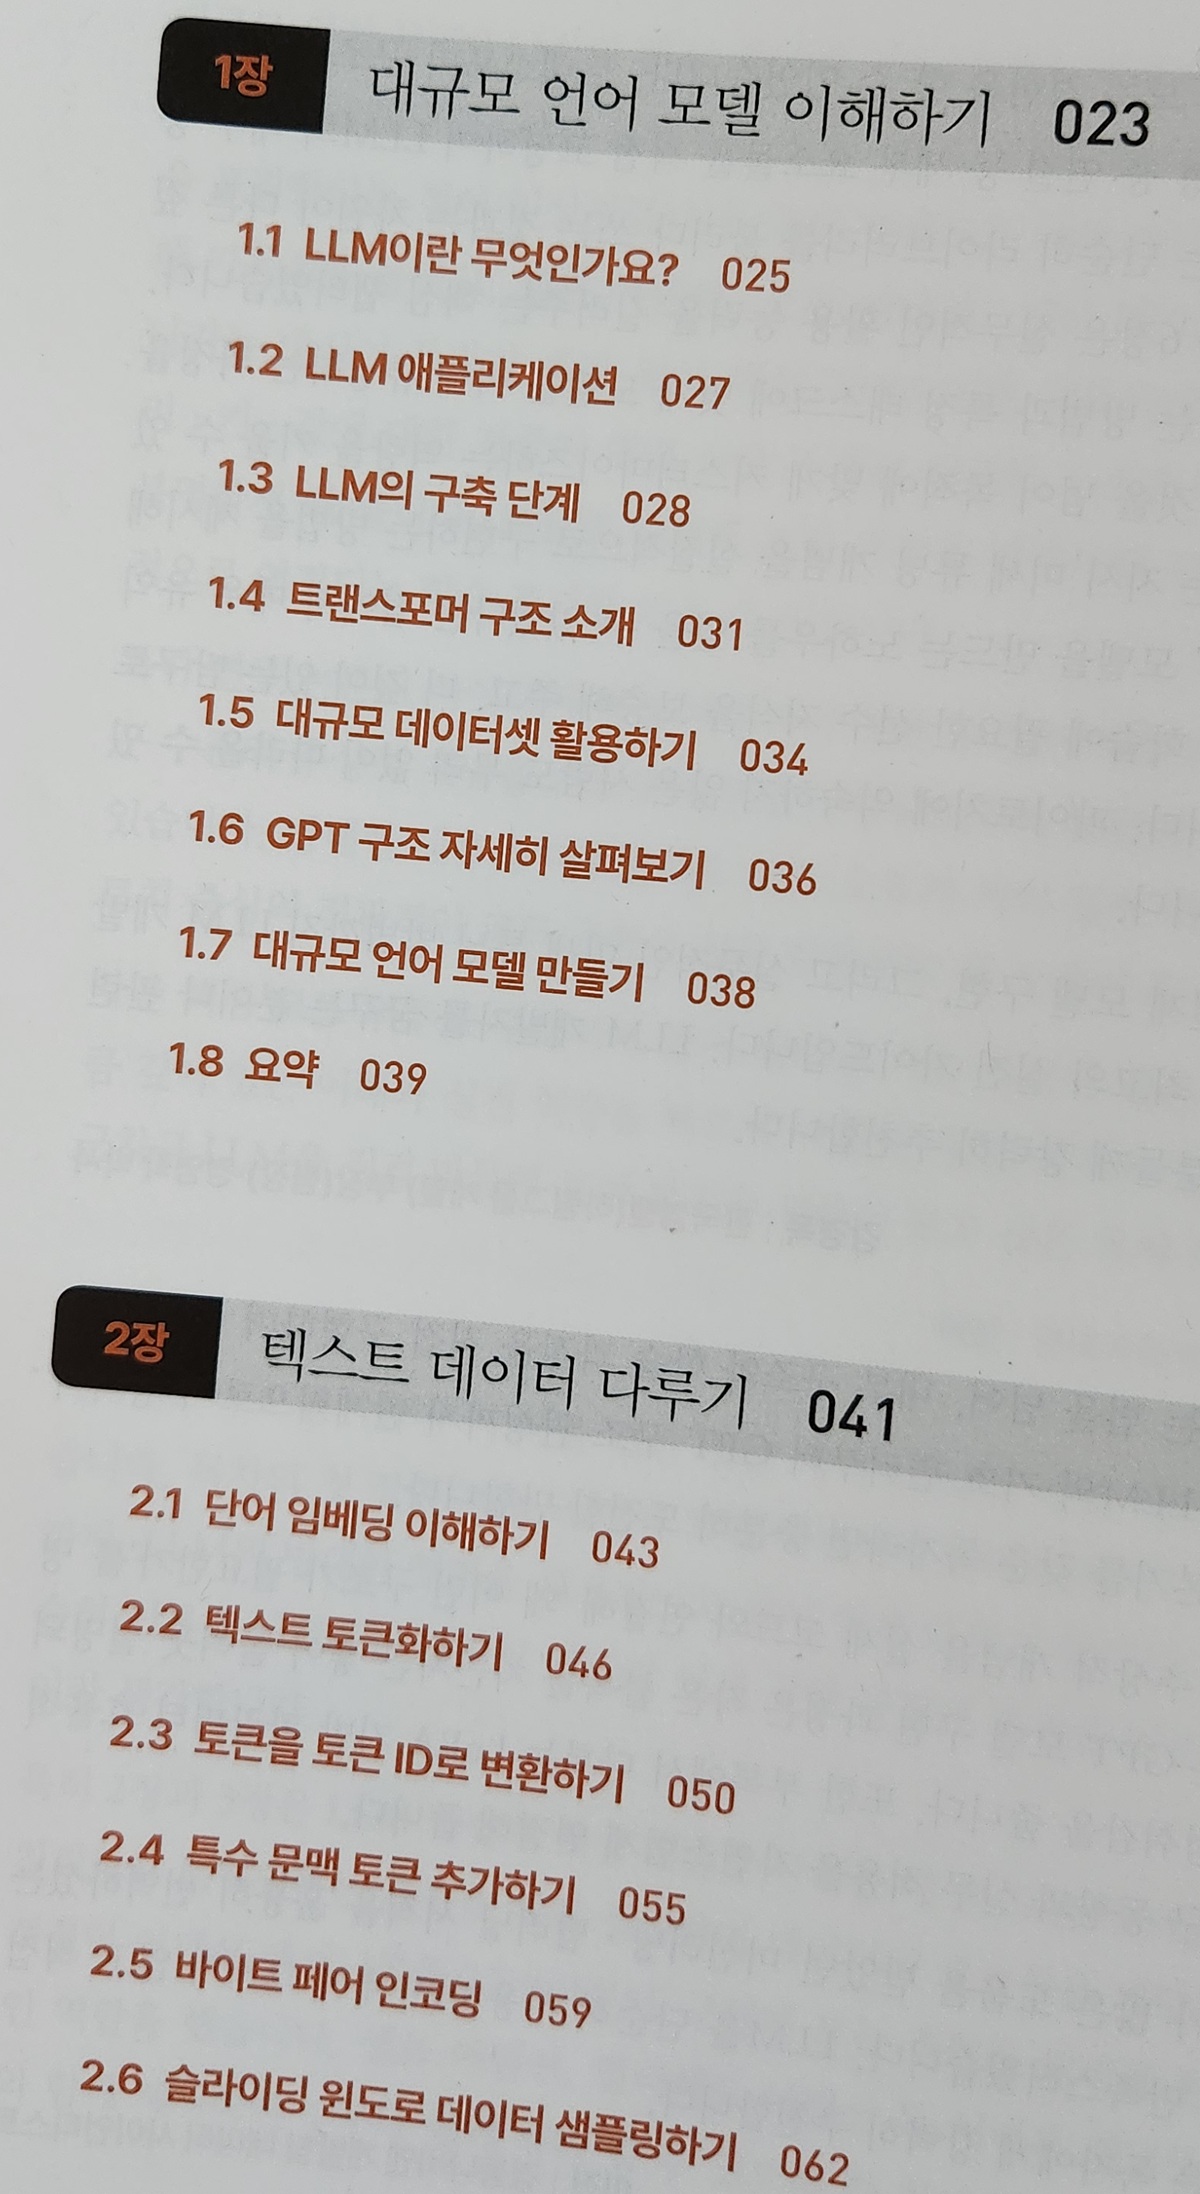
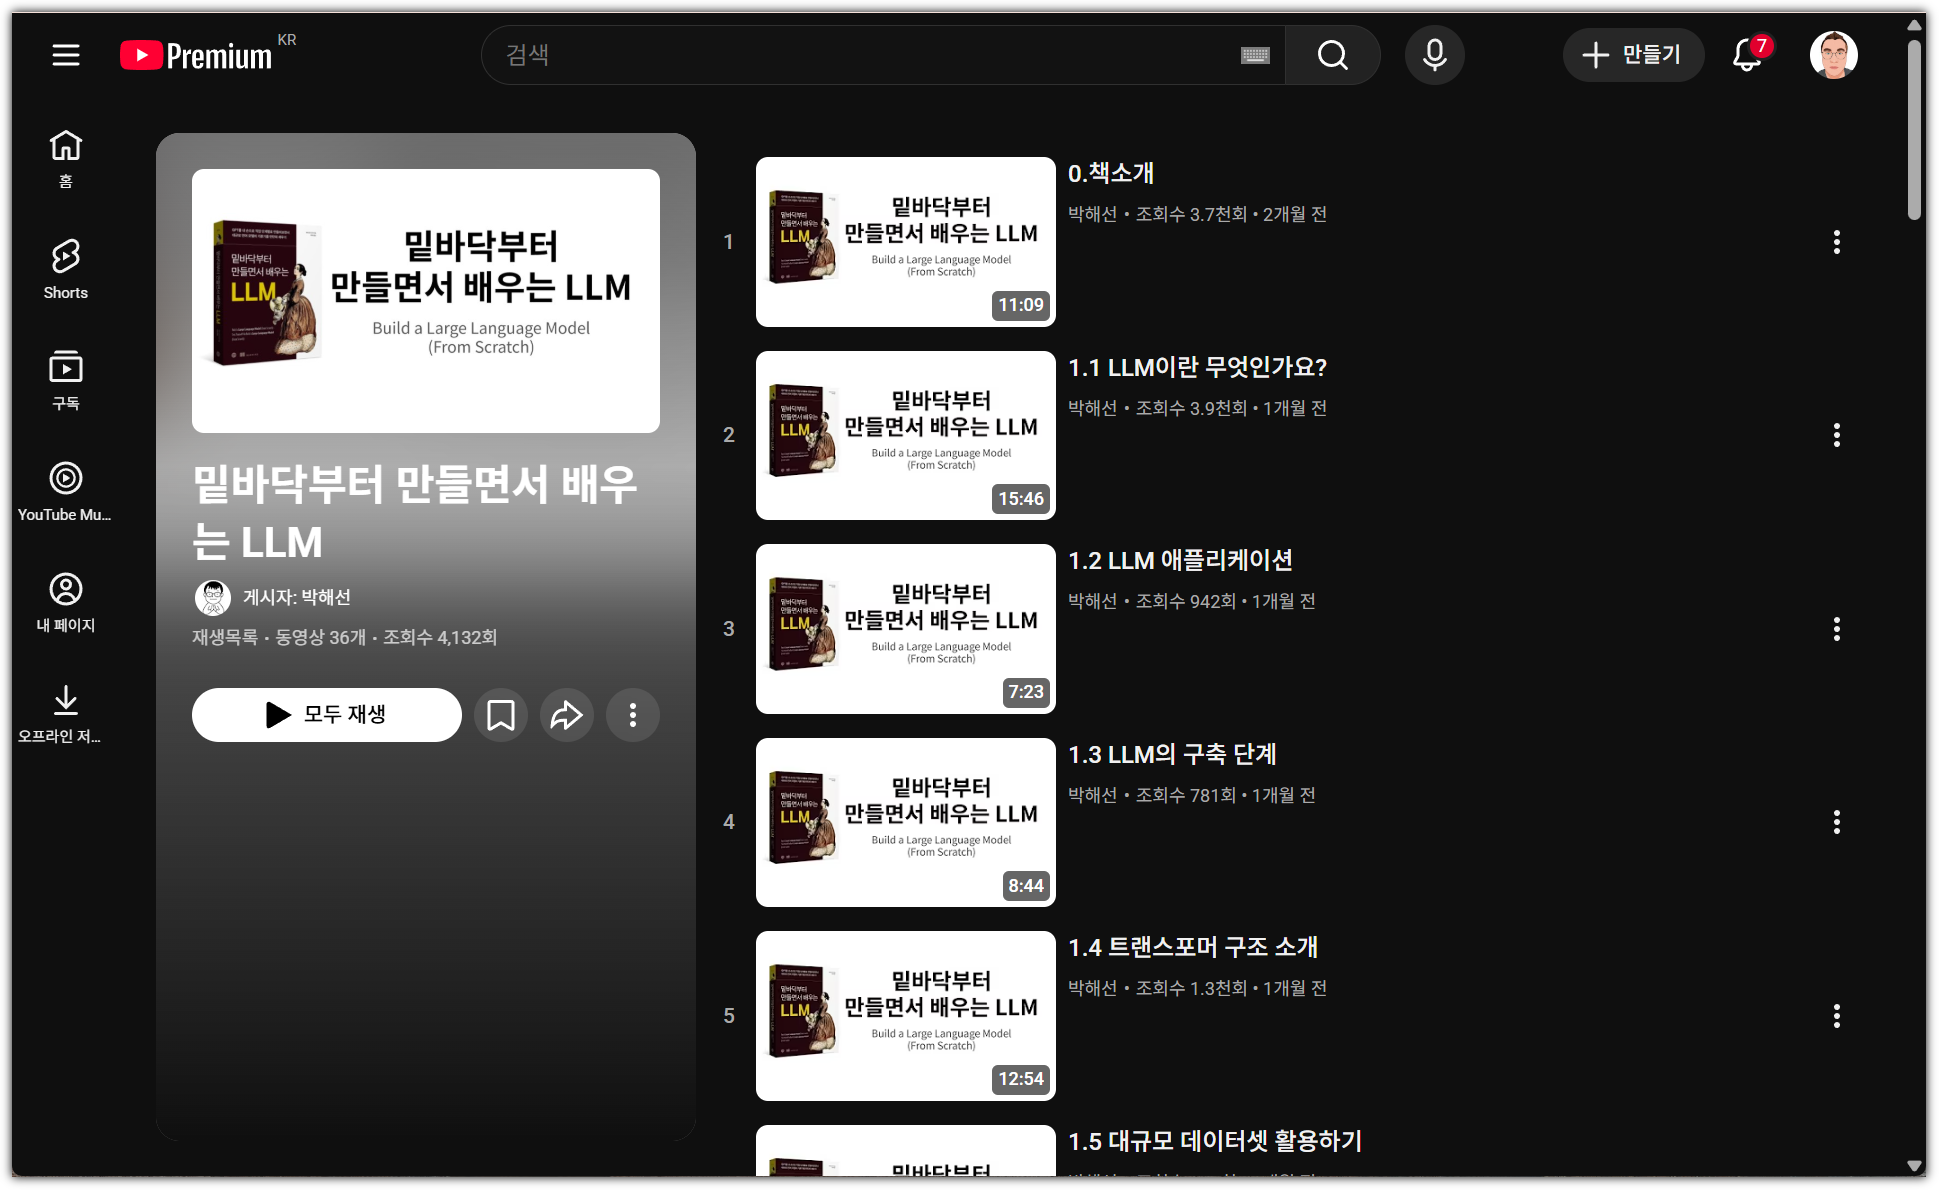
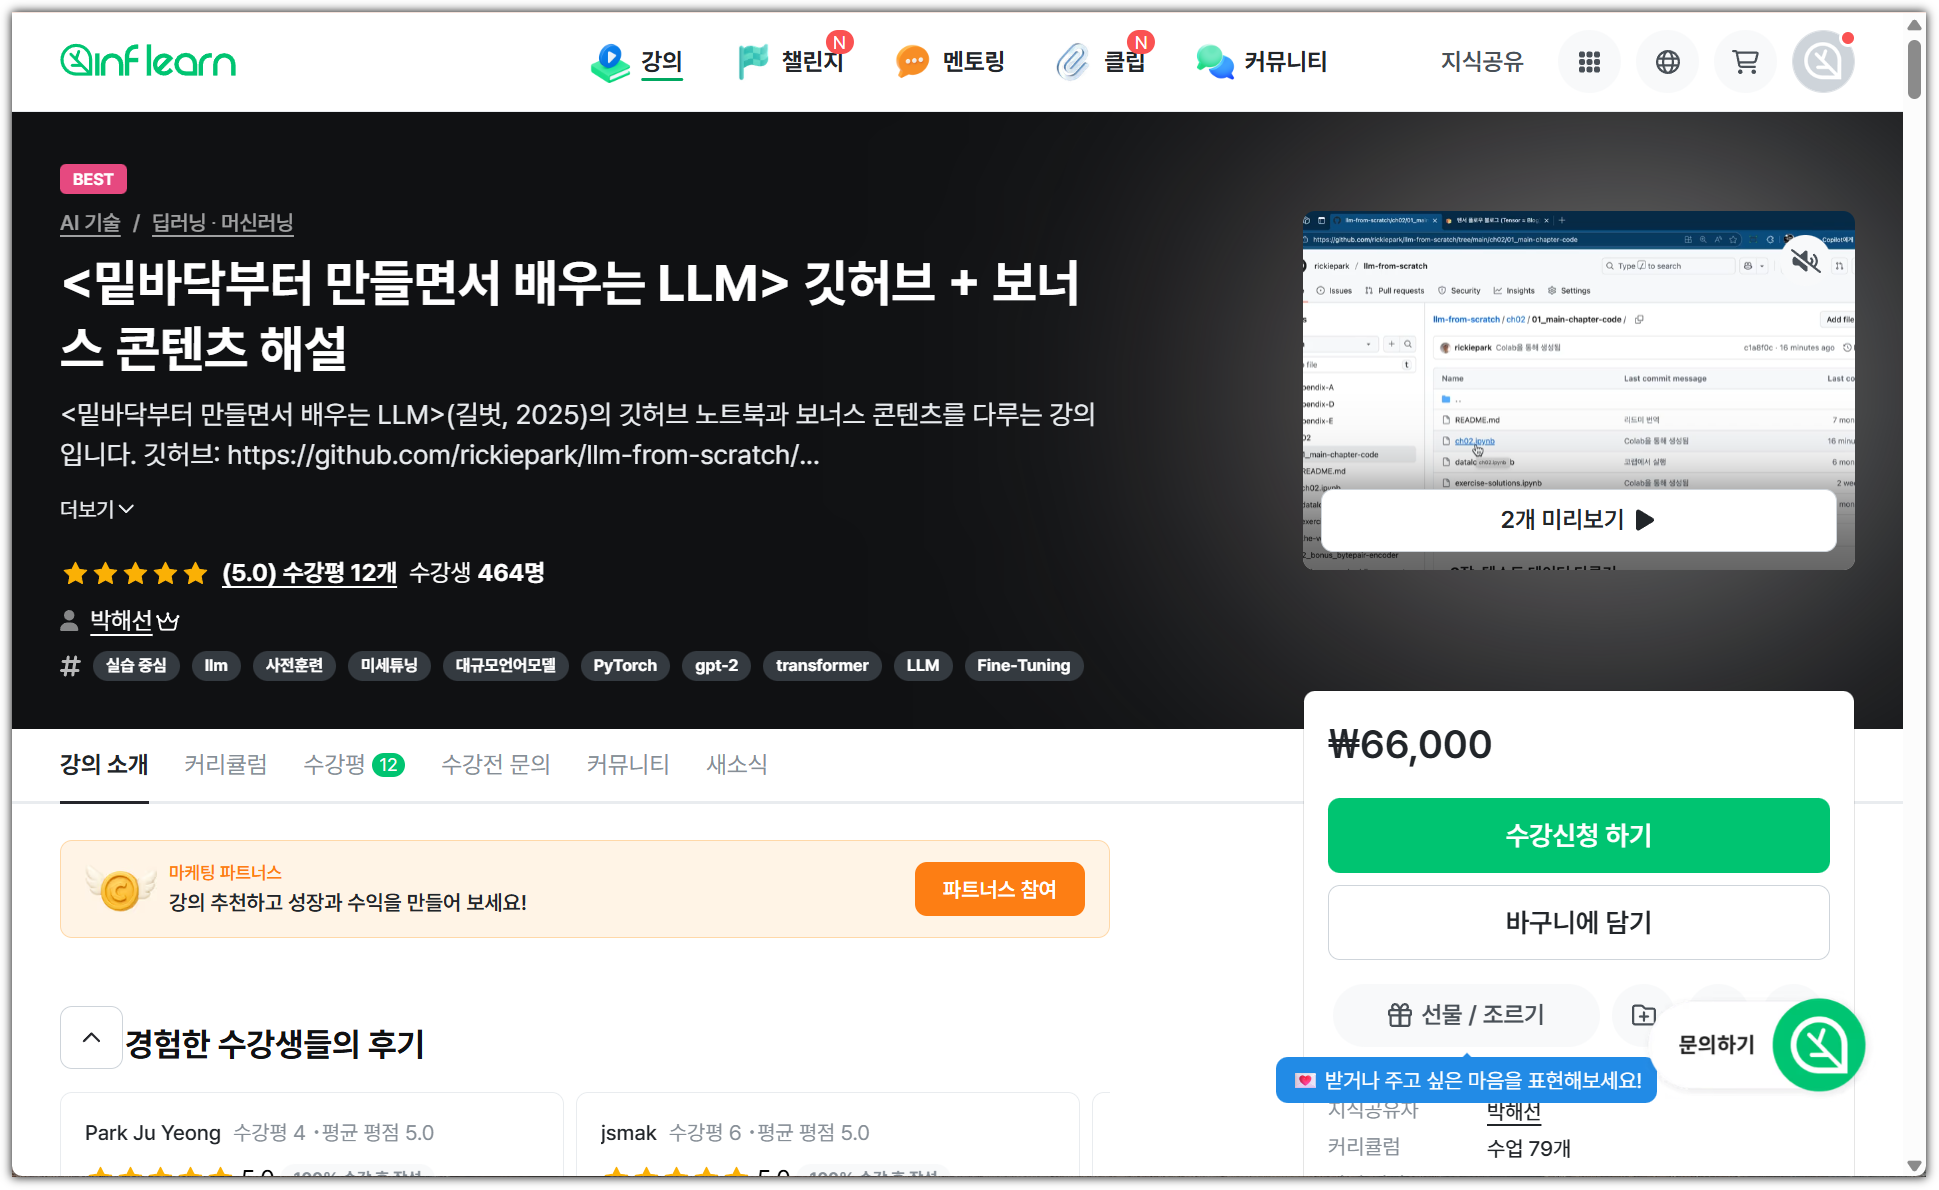
| [길벗출판사] 밑바닥부터 만들면서 배우는 LLM (0) | 2025.11.22 |
| [한빛미디어] 할루시네이션을 줄여주는 프롬프트 엔지니어링 (0) | 2025.10.28 |
| [한빛미디어] 정지훈의 양자 컴퓨터 강의 (2) | 2025.09.28 |