개발자들에게 가장 유명한 사이트 中 하나인 GitHub.com에서는
매년 Octoverse라는 이름으로 1년간의 성과와 통계를 공개한다.
- https://octoverse.github.com/
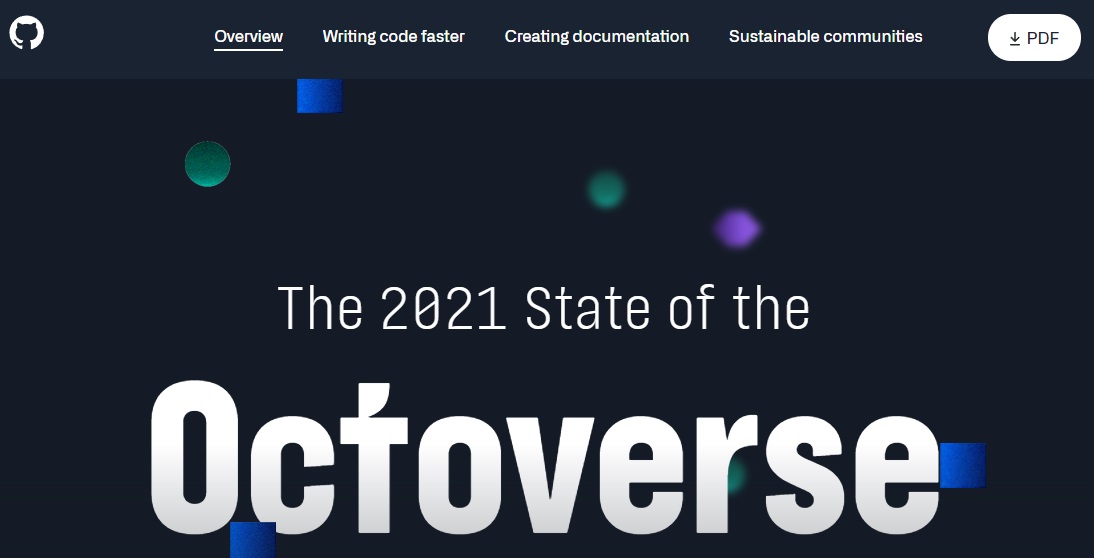
그러면 Python은 2021년에 몇 번째로 사랑받았을까?!

JavaScript에 이어 2번째로 인기있는 언어가 바로 Python이다.
그러면 Python을 공부하기에 좋은 책은 어떤 것이 있을까?!
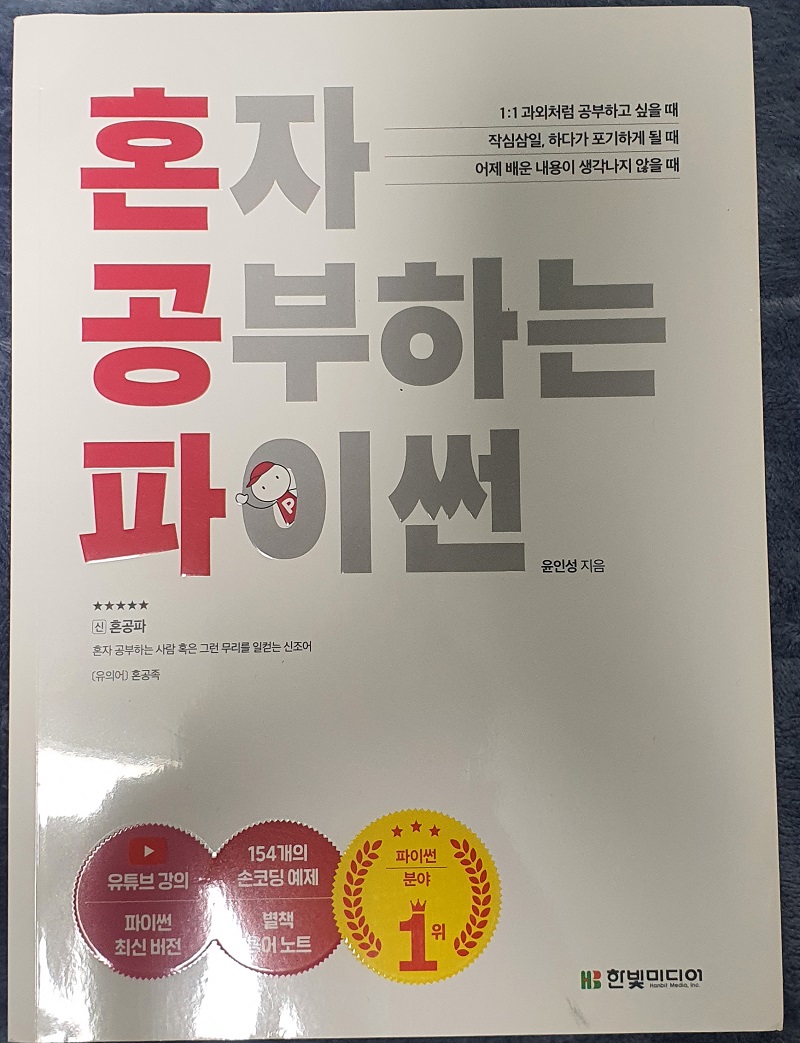
책 표지에도 딱! 나와있듯이 "파이썬 분야 1위" 책이다 !!!

그렇다! 무려 10쇄 !!!
많이 팔리는 책에는 분명히 이유가 있을 것이다.

책 제목에 분명히 써 있듯이 "혼자 공부"하기에 정말 최적의 Python 서적인 것이다.
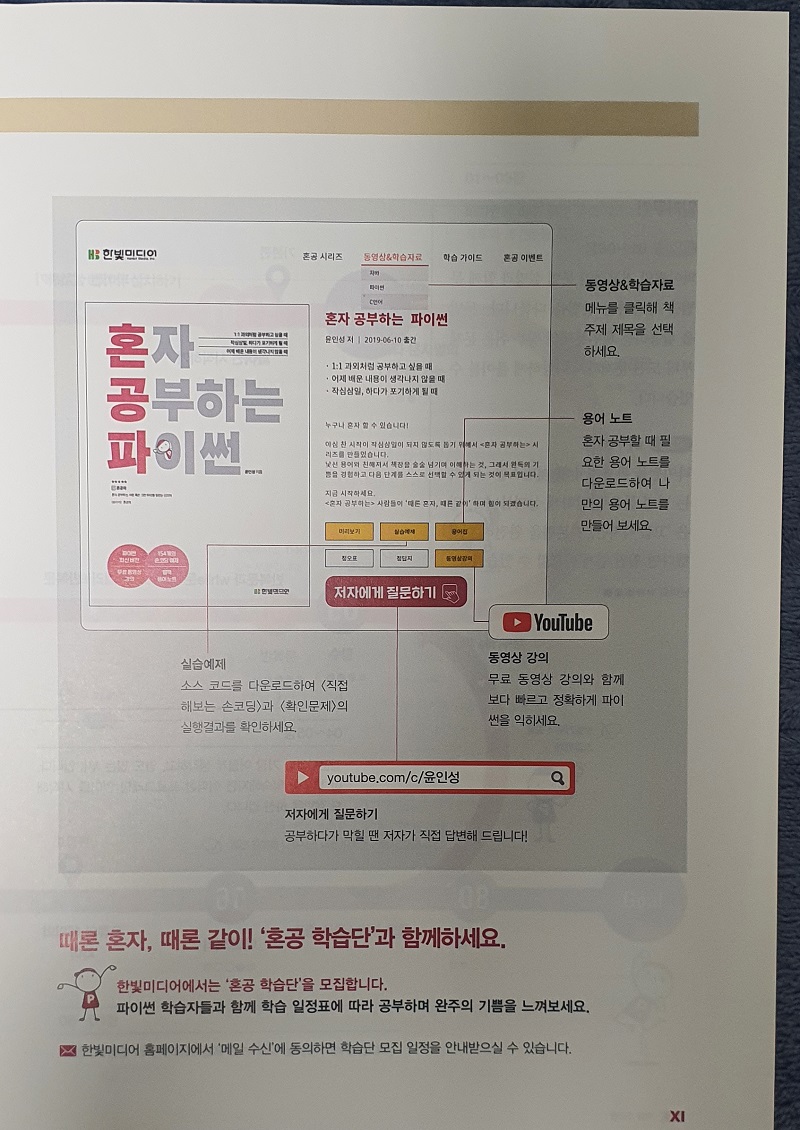
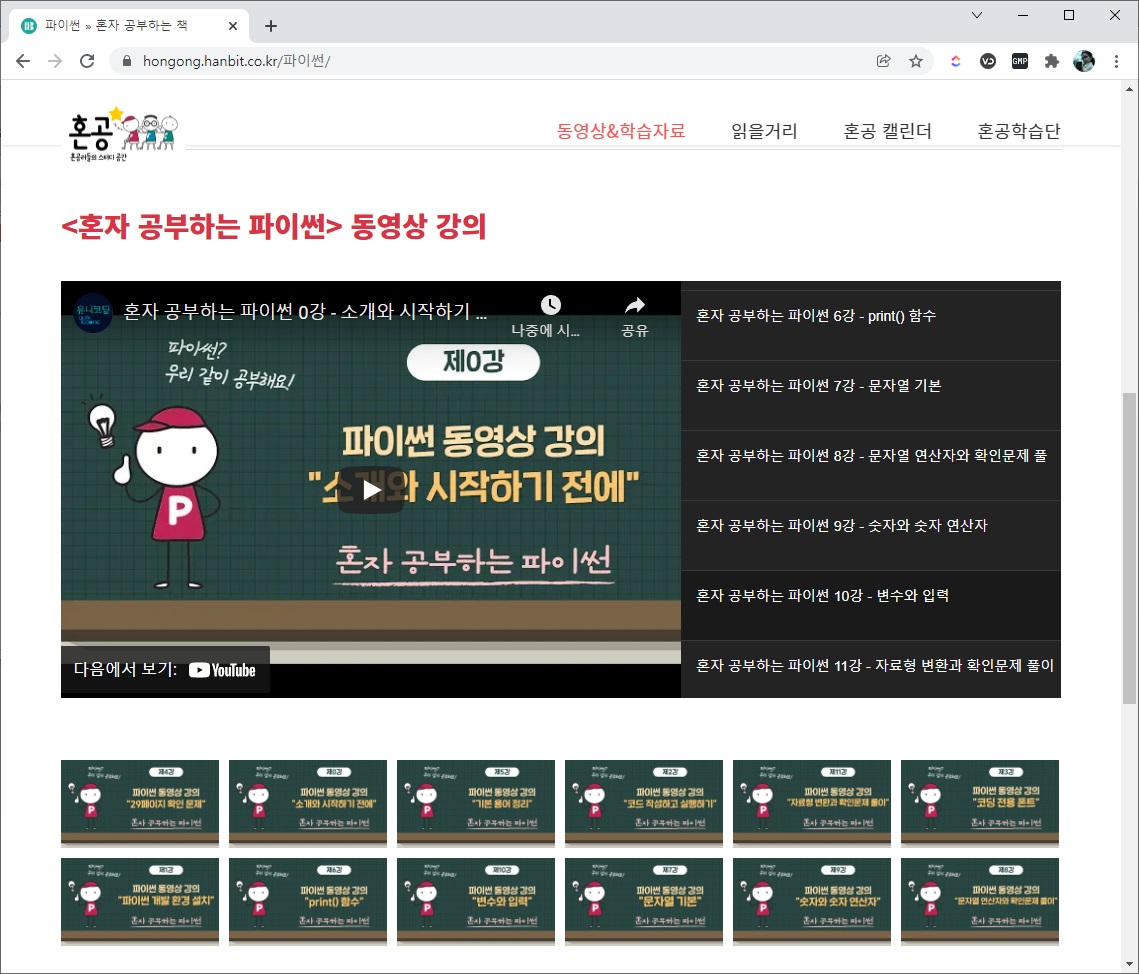
실제 해당 사이트에 가보면 정말 많은 것을 제공해주고 있다.
- https://hongong.hanbit.co.kr/%ed%8c%8c%ec%9d%b4%ec%8d%ac/

정말 고맙게도 동영상 강의도 무료로 제공해주고 있다.
혼자서 공부하자니 동기부여가 잘 안된다면
한빛미디어에서 정기적으로 모집하는 "혼공학습단"과 같은 이벤트에 참여하면 경품까지고 노릴 수 있다.
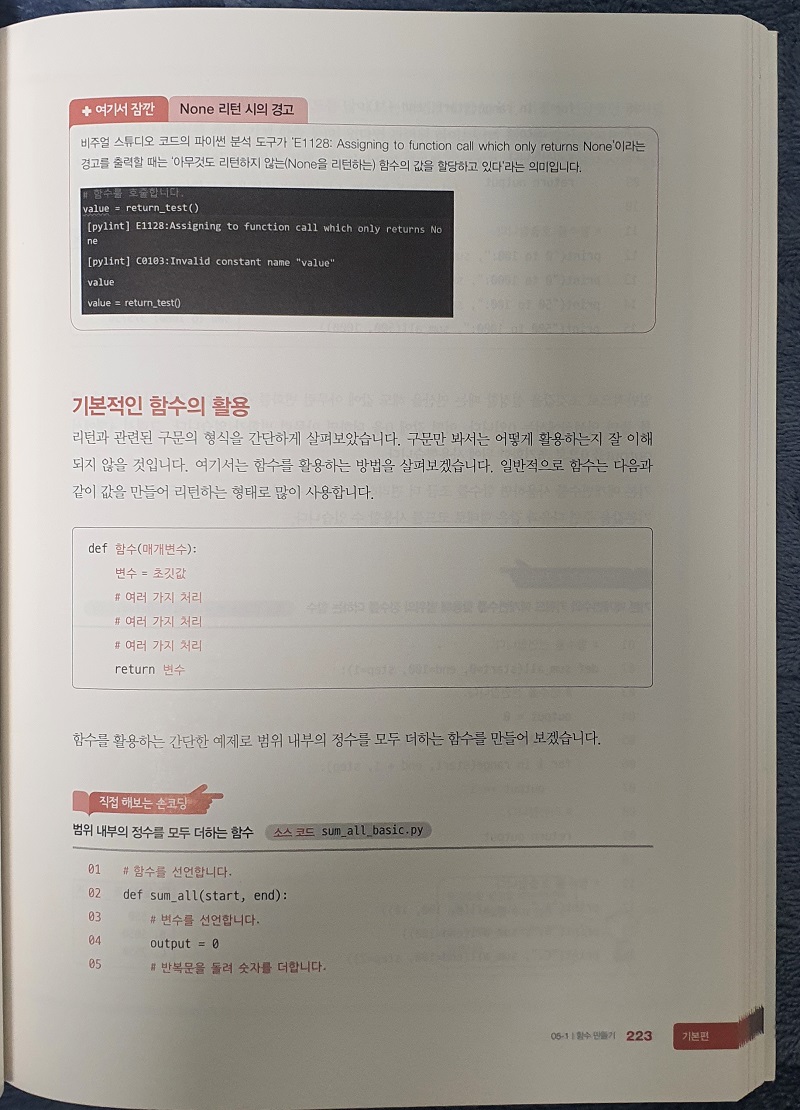
책 내용도 보면 정말 친절하기 그지없다.
줄 간격도 여유있게 되어 있어서 보기에 부담스럽지 않다.
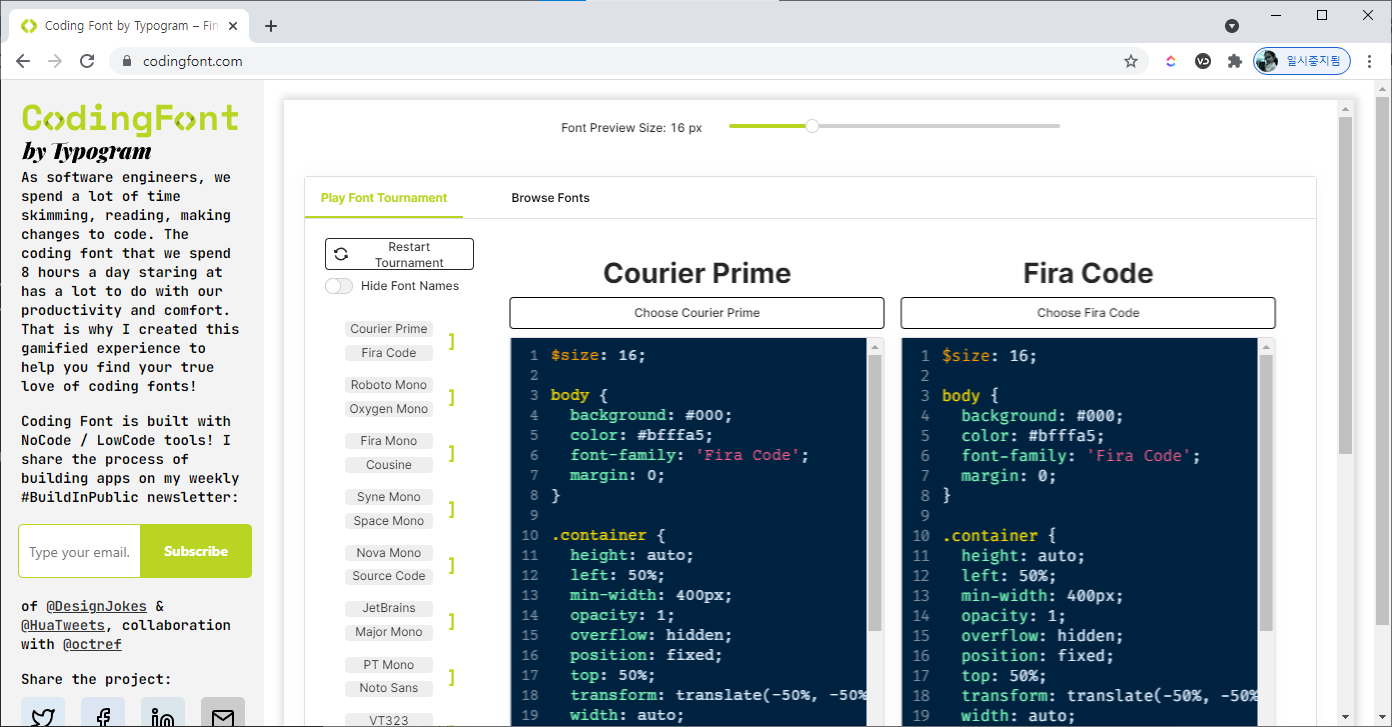
얼마나 친절하냐면,
코딩 전용 폰트 설치하는 것까지 책은 물론이고 동영상으로도 설명을 해준다.

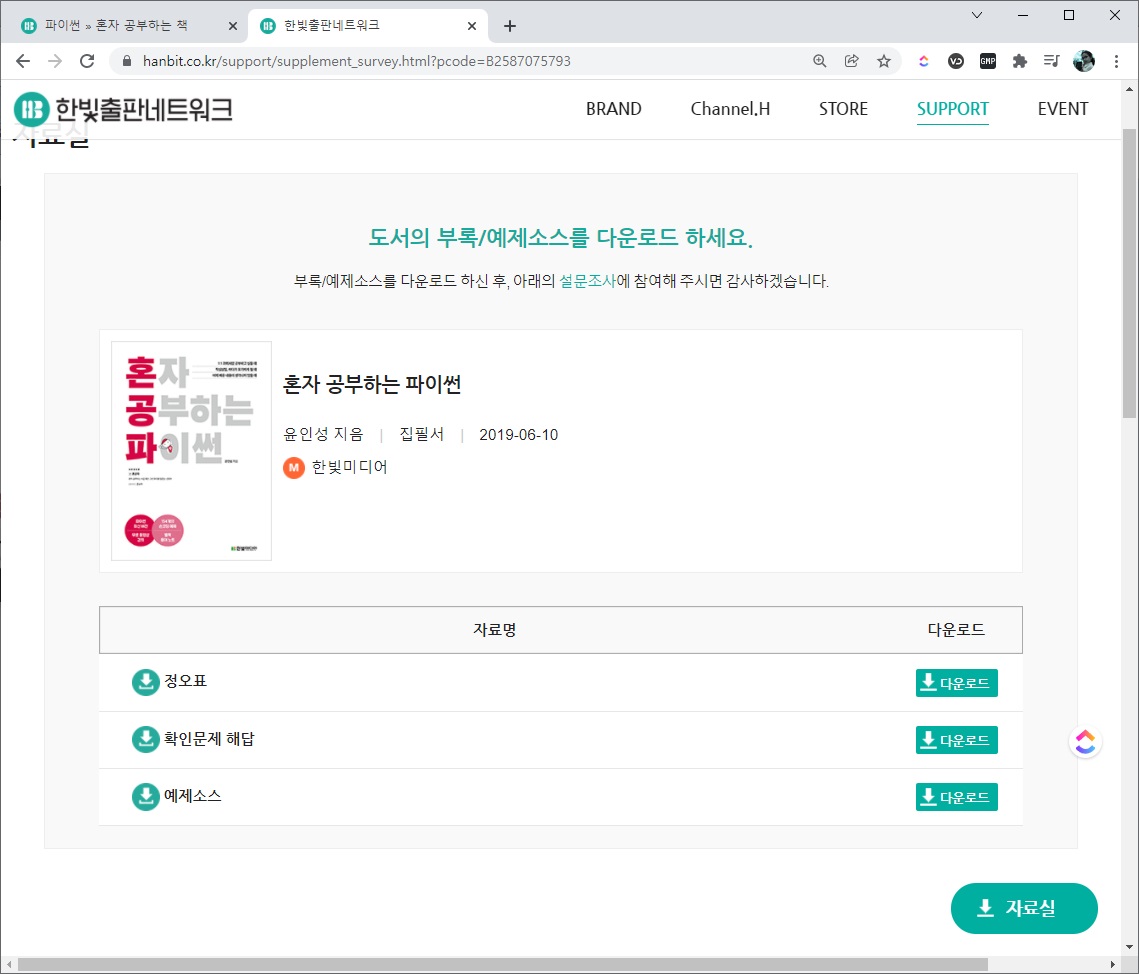
조금 아쉬운 점은 예제소스를 다운로드 받아서 사용해야 한다는 점인데...
사실 github.com에서 검색하면 누군가 올려놓은 소스코드들을 쉽게 찾아볼 수는 있다.
총평하자면,
혼자서 Python을 공부하기에는 가장 최적의 선택
무료 동영상 및 많은 커뮤니티를 통한 다양한 자료 활용 가능
다만, 정말 처음으로 Python을 공부하는 사람에게 적합
중급 이상에게는 너무 쉬운 책
'Books' 카테고리의 다른 글
| [제이펍] 머신러닝 엔지니어링 (0) | 2022.01.10 |
|---|---|
| [한빛미디어] 파이토치로 배우는 자연어 처리 (1) | 2021.12.26 |
| [제이펍] 코드로 배우는 인공지능 (1) | 2021.11.29 |
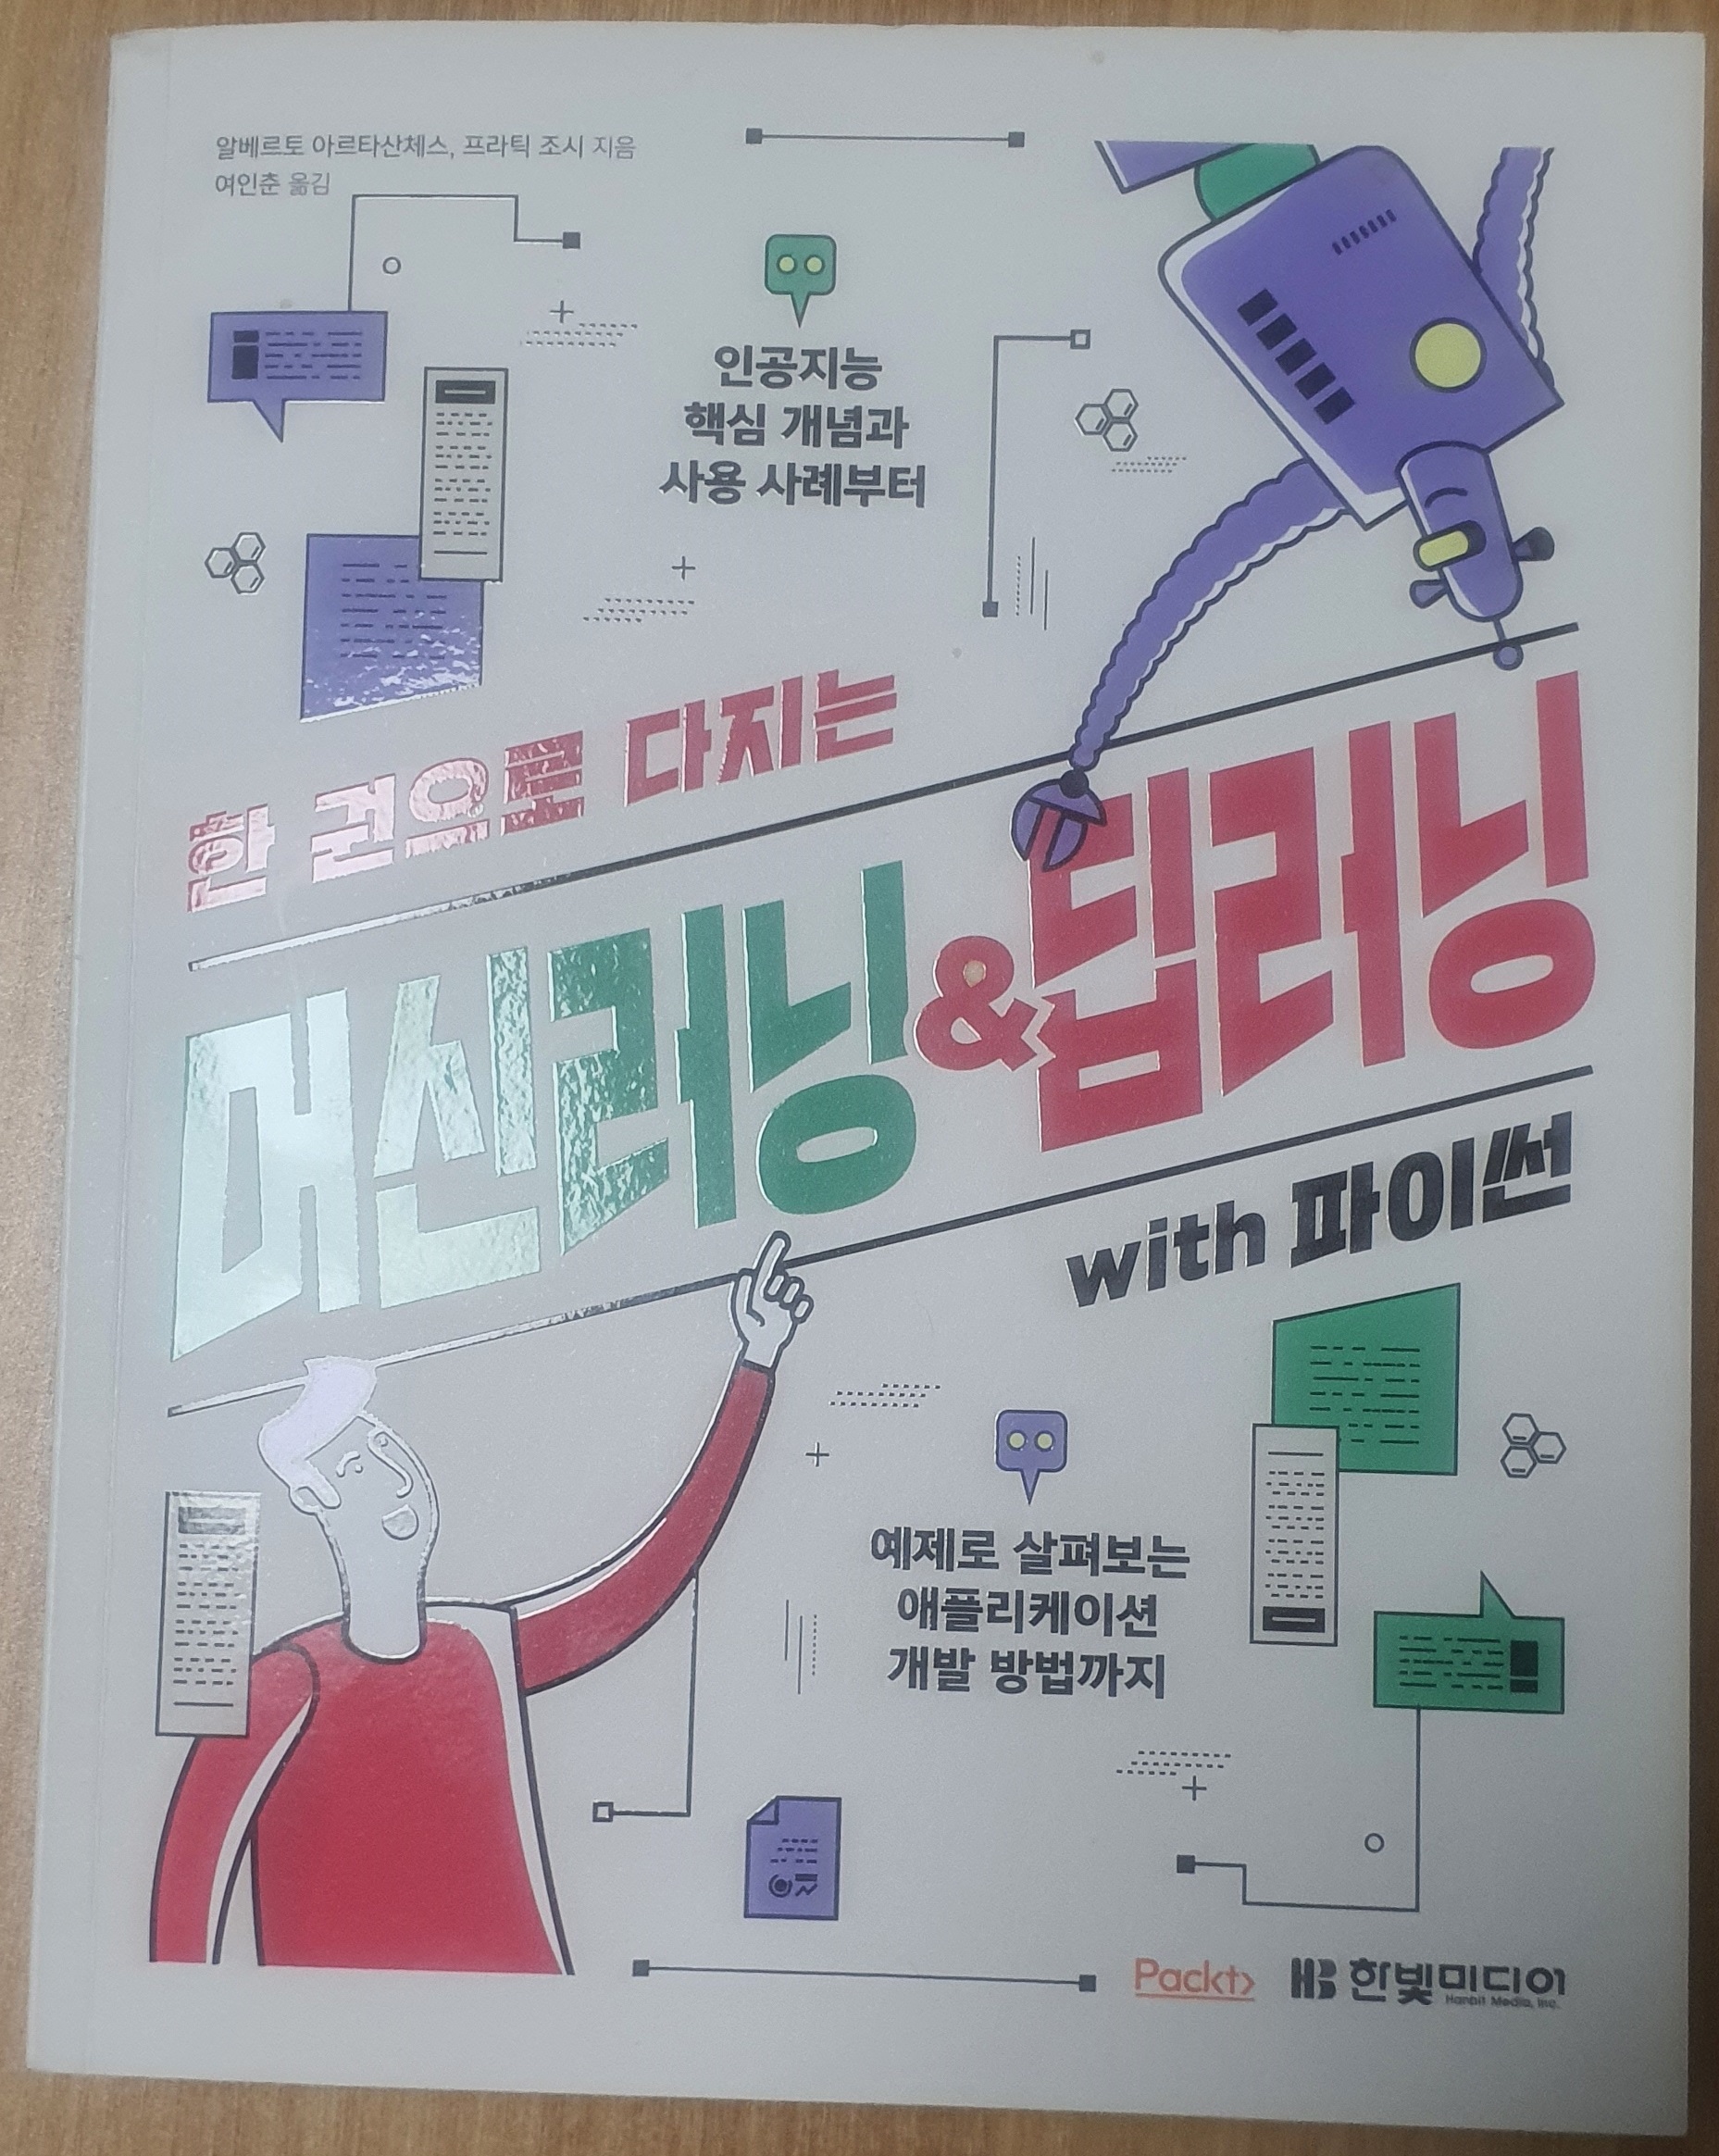
| [한빛미디어] 한 권으로 다지는 머신러닝&딥러닝 with 파이썬 (0) | 2021.11.22 |
| [한빛미디어] Python for Data Analysis (2nd) (1) | 2021.09.23 |